Japanese Water Stone Guide: Soaking, Types & Care
By Sora Tanaka • 3rd Mar
You've heard Japanese water stones can transform a dull blade into a sharp tool in minutes. But the forum advice contradicts itself, soak or don't soak? Buy natural or synthetic? And what's a nagura stone, anyway? This guide cuts through the noise with clear, testable methods so you can move from confusion to confidence and consistently sharp steel.
Understanding Japanese Water Stones: The Foundation
What is a Japanese water stone, and why should I use one?
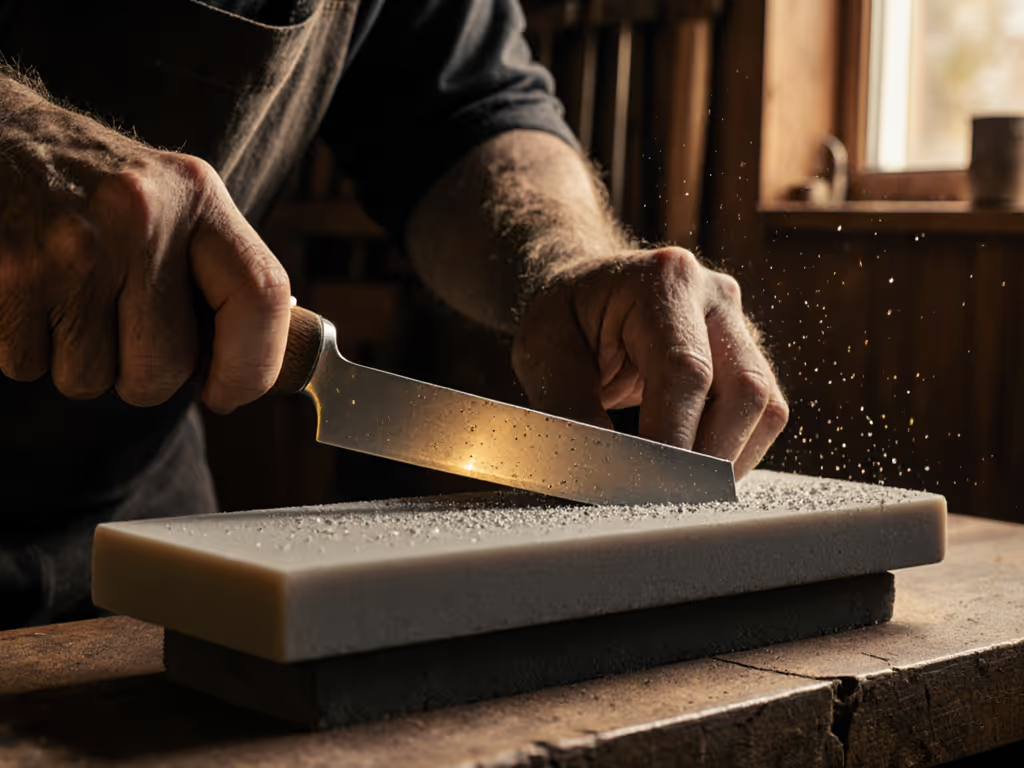
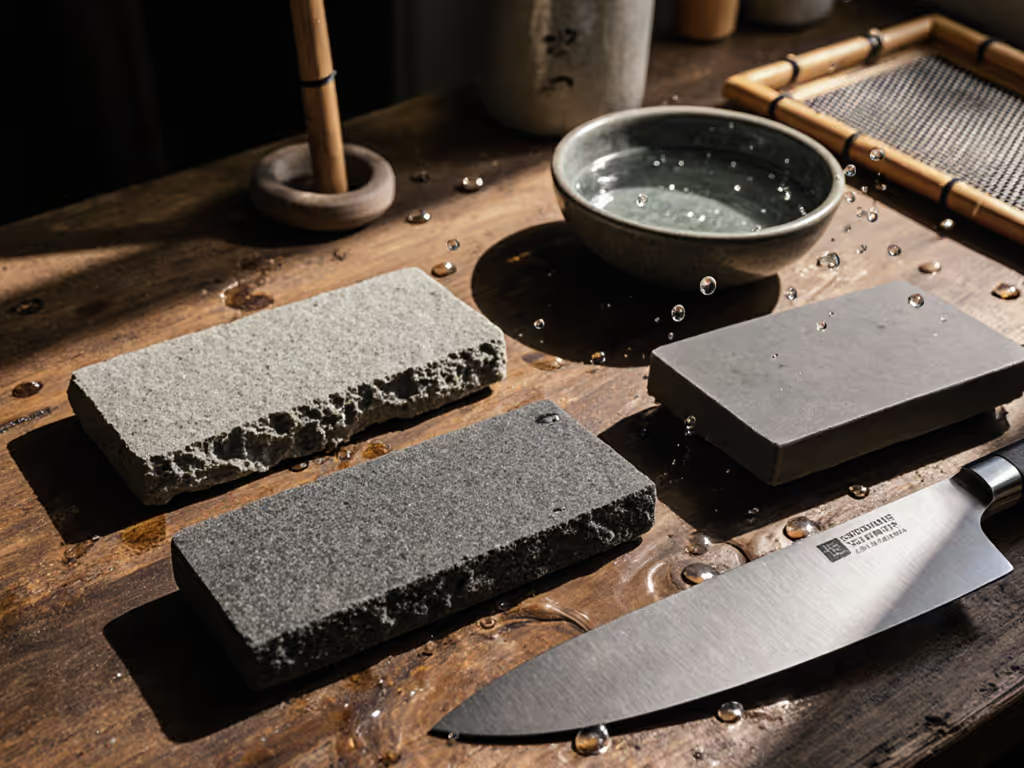
A Japanese water stone is a sharpening surface made from fine silicate grains bound in a clay matrix (natural stones) or engineered ceramics like silicon carbide and aluminum oxide (synthetic versions). What sets them apart is their softness compared to other stone types and their reliance on water as a lubricant rather than oil.
This softness is your feedback tool. Unlike harder oil stones, water stones wear visibly as you work, and that wear rate tells you something critical: they cut fast and polish fine. A blade that takes hours on an oil stone may sharpen in minutes here, not because it's magic, but because the stone's composition creates efficient particle engagement. When I spent early Saturday mornings at my mentor's bench, he never rushed. But the speed came naturally; the softer stone's behavior was honest feedback. You don't chase mastery; you listen.
Water stones are also much softer, meaning they dull with use and require regular flattening. This isn't a weakness (it's accountability). Each time you flatten a stone, you're resetting it to true geometry, which ensures consistent angle delivery. Control the angle, control the outcome (steel tells the truth).
Why not use oil stones or other sharpening systems instead?
Oil stones are harder, wear slowly, and require oil cleanup. They suit some workflows, but they take longer to sharpen and don't offer the polishing refinement water stones deliver. The choice isn't about tradition; it's about feedback loops and speed-to-sharp for your constraints.
Electric systems and guided clamps promise consistency but add cost, noise, and complexity. See our whetstone vs electric results comparison for time, finish, and cost trade-offs. For apartment dwellers or late-night sharpeners, water stones remain the quietest, most mess-contained option if you respect the soaking protocol.
Soaking and Water Use: Clear Checkpoints
Do I really have to soak my water stone before every use?
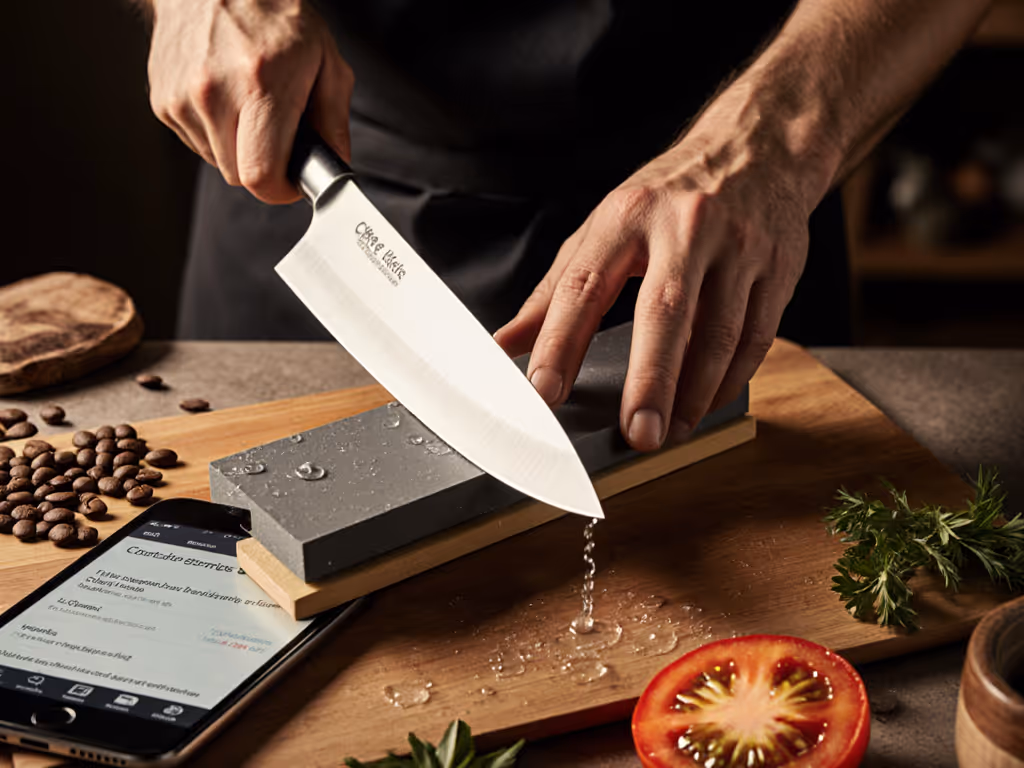
Yes, but with nuance. Soaking fills the stone's pores with water, which creates a smooth sharpening surface and helps carry away swarf (metal particles and debris) for easy cleanup. Without water saturation, the stone clogs, the surface gets sticky, and your angle feedback diminishes.
However, soak time varies by stone type and hardness. Soft, porous stones may need 30 minutes to over an hour; hard stones might need only a spritz. The checkpoint: stop soaking when the stone stops releasing air bubbles. That's your signal the pores are filled. If you're impatient and start sharpening a half-saturated soft stone, you'll feel the difference immediately (muddy feedback and poor cutting).
What's the practical difference between soaking stones and splash-and-go?
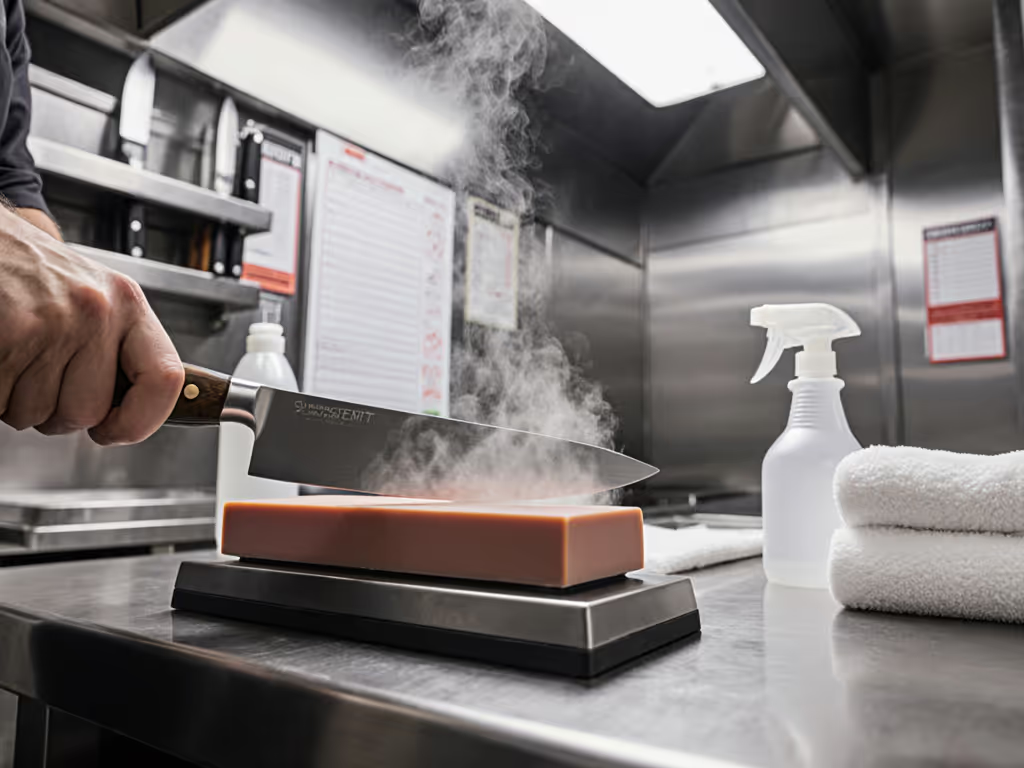
Soaking stones (traditional types) must be submerged until fully saturated before use, then kept wet during sharpening with frequent splashes. They demand setup time and a clean sink or bowl.
Splash-and-go stones need only surface moisture and can begin work immediately; you maintain wetness with a spray bottle during sharpening. No deep soak required.
For busy home cooks with tight schedules or apartment dwellers with limited counter space, splash-and-go is the practical choice. For craft-focused users who don't mind 20 minutes of prep, soaking stones often offer superior feedback and feel. Neither is objectively "better" (it's about your constraints and whether you can commit to the rhythm).
Stone Types and Progression: Matching Steel to Abrasive
What are the main types of Japanese water stones, and how do I choose?
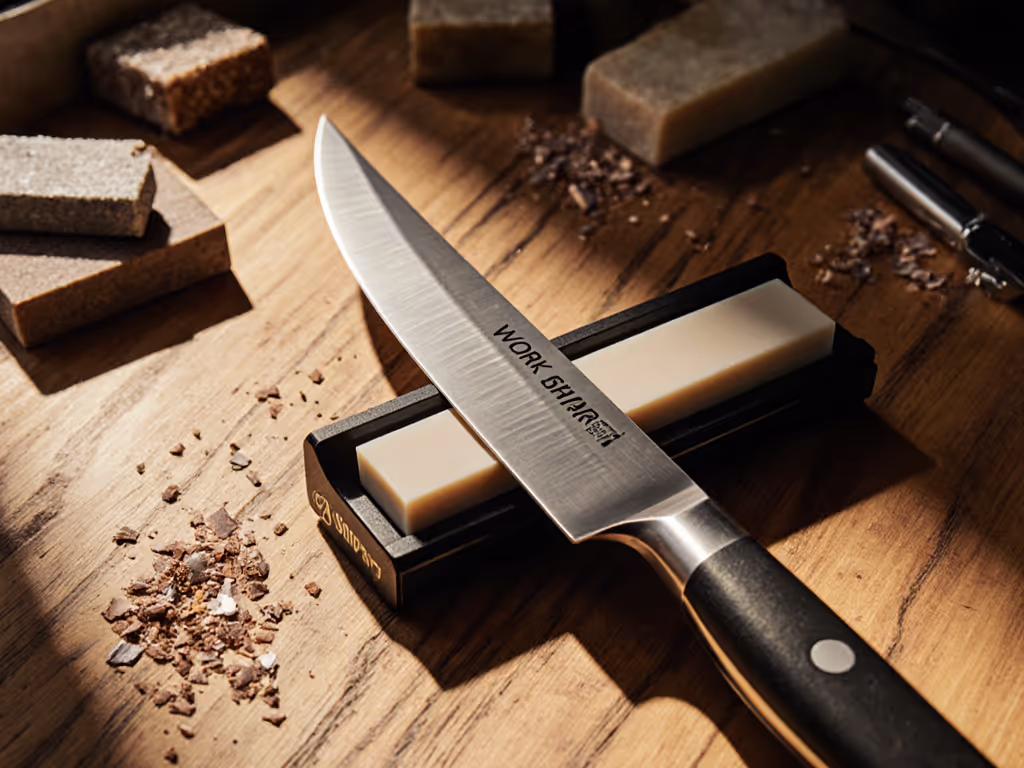
Natural Japanese water stones vary by origin and name. The most common are Aoto (coarser, used for initial sharpening), Awase-to (mid-range for general work), and Uchigumori (fine polishing stone for final stages). Each has unique texture and color because they're quarried from different districts (mostly around Kyoto historically, though natural quarries are largely exhausted).
Synthetic water stones dominate today. Made from silicon carbide or aluminum oxide, they offer consistent particle size and grit ratings. This consistency is valuable: a certified 1000-grit Naniwa or Shapton will behave predictably, unlike a natural stone where grit varies internally.
For progression, think in grit tiers:
- Below 1000 grit: Coarse work, repair, re-profile, or heavy dull blades. Too aggressive for regular maintenance.
- 1000–3000 grit: The workhorse range. Most home cooks and EDC users stay here for weekly or monthly touch-ups.
- 4000–8000 grit: Mid-polishing for refinement. Optional unless you prize a mirror finish or use high-carbon Japanese knives.
- 10,000+ grit: Advanced polishing. Rarely needed for function; mainly for aesthetics or specialty work.
Start with a 1000-grit stone. Build a clean burr, understand your angle feedback, and sharpen your blades consistently. Once that rhythm is automatic, add a 4000 or 6000 if you want finer edges. Use our grit progression guide to plan efficient steps from coarse to polish. Don't stack grits before you understand how to raise a clean burr on a single stone.
Should I buy natural Japanese stones or synthetic?
Natural stones were the historical standard, but centuries of mining have exhausted Japan's primary quarries. Natural stones remain prized for their organic beauty and unique characteristics, but they're expensive, variable, and harder to source.
Synthetic stones are not inferior; they're engineered for consistency and affordability. Today's ceramic and carbide-bonded stones match the quality of natural options at a fraction of the cost. For beginners and busy professionals, synthetic is the rational choice. For collectors or craftspeople drawn to the ritual and unpredictability of natural stone, the premium is paid knowingly.
Maintenance: Flattening and Nagura Stones
Why does my stone become uneven, and how do I fix it?
Water stones soften and wear. The center of the stone, where your knife blade spends most time, gets worn faster than the edges, creating a dome or dish over weeks or months. An uneven stone can't deliver consistent angle feedback, so your edges drift in geometry and fail sooner.
Flattening restores flatness using a lapping plate, flattening stone (coarse grit, under 200), or wet abrasive paper on tempered glass. For broader care routines across all sharpener types, see our sharpening tool upkeep guide. The process is straightforward: lay your stone on the lapping medium and move it in a figure-eight or X pattern until the surface feels uniformly flat again. Rinse both surfaces frequently to avoid contamination.
You don't need to flatten before every sharpening. Instead, flatten when you notice the stone's surface feeling uneven or your burr-raising becoming inconsistent (typically after 20 to 50 uses, depending on use intensity).
What's a nagura stone, and do I need one?
A nagura stone is a softer stone used to create a fine slurry (a paste of stone particles and water) on the surface of your sharpening stone. This slurry is your feedback amplifier; it carries away swarf and provides micro-abrasion that refines the edge.
You can raise a slurry by rubbing your blade back and forth on a dry stone until friction warms the surface, but a nagura stone is gentler and more efficient. A 1000-grit nagura produces a slurry without over-wearing your main stone, preserving its lifespan.
Nagura stones are not mandatory, but they're affordable insurance. If you're serious about consistent results and want to minimize stone maintenance costs, a nagura stone is one of the few accessories worth buying early.
Bringing It All Together
Sharpening with water stones is not complicated, but it demands attention to detail (soaking, angle consistency, and honest feedback from the stone itself). You won't achieve pro-level edges overnight, but deliberate practice with clear feedback loops makes the path visible.
Start with a splash-and-go 1000-grit synthetic stone and a nagura stone. Commit to three full sharpenings before judging your technique. Notice how the burr feels and sounds as your angle changes. To understand what's happening at the edge, read our burr formation science explainer. Over time, that whisper of feedback becomes your guide, not the stone's grit number or your knife's price tag.
The craft builds slowly, but it builds on something solid: repeatable geometry, water-filled pores, and your willingness to listen.
Further Exploration
If you're curious about water stone sharpening, explore these next steps: practice raising a clean burr on your 1000-grit stone until it feels automatic; experiment with higher grits (4000 to 6000) to notice the difference in edge polish; research stone brands like Naniwa, Shapton, or Suehiro to compare soaking and splash-and-go options; and consider which of your knives would benefit from a full profile vs. routine maintenance. Each choice will deepen your understanding of how water stone sharpening connects steel behavior, geometry, and your hand's feedback into sharper, longer-lasting blades.
Related Articles