Japanese Water Stone Mastery: Safe Sharpening Without Damage
By Sora Tanaka • 30th Nov
There's a quiet magic in working with a genuine Japanese water stone (the way it glazes under pressure, the subtle feedback as it meets steel, the honest conversation between blade and abrasive). When you select the right sharpening stones for your collection, you're not just maintaining tools; you're developing a relationship with precision itself. To compare upkeep and performance across abrasives, see our water vs oil vs diamond maintenance guide. I've watched countless students tense up at the thought of touching water to stone, fearing damage to their prized blades. Let me tell you: the stone fears nothing from you. It is the perfect partner for deliberate practice, offering clear feedback at every stroke.
Why should I choose Japanese water stones over guided systems or electric sharpeners?
Many worry that freehand sharpening requires mystical talent, but it's actually the most transparent path to understanding your knife's edge. Guided systems constrain angle variability but obscure the subtle dialogue between steel and stone. For an objective results breakdown, explore whetstone vs electric. With Japanese water stones, you develop true control: the kind where your thumb becomes a sensor for pressure, your ear tunes to the sound of proper contact, and your eyes recognize the whisper of a forming burr.
Control the angle, control the outcome: steel tells the truth.
Remember: every stroke is either improving your skill or reinforcing a bad habit. Stones force you to confront your inconsistencies immediately (a far kinder teacher than an electric sharpener that blissfully removes metal while masking your errors).
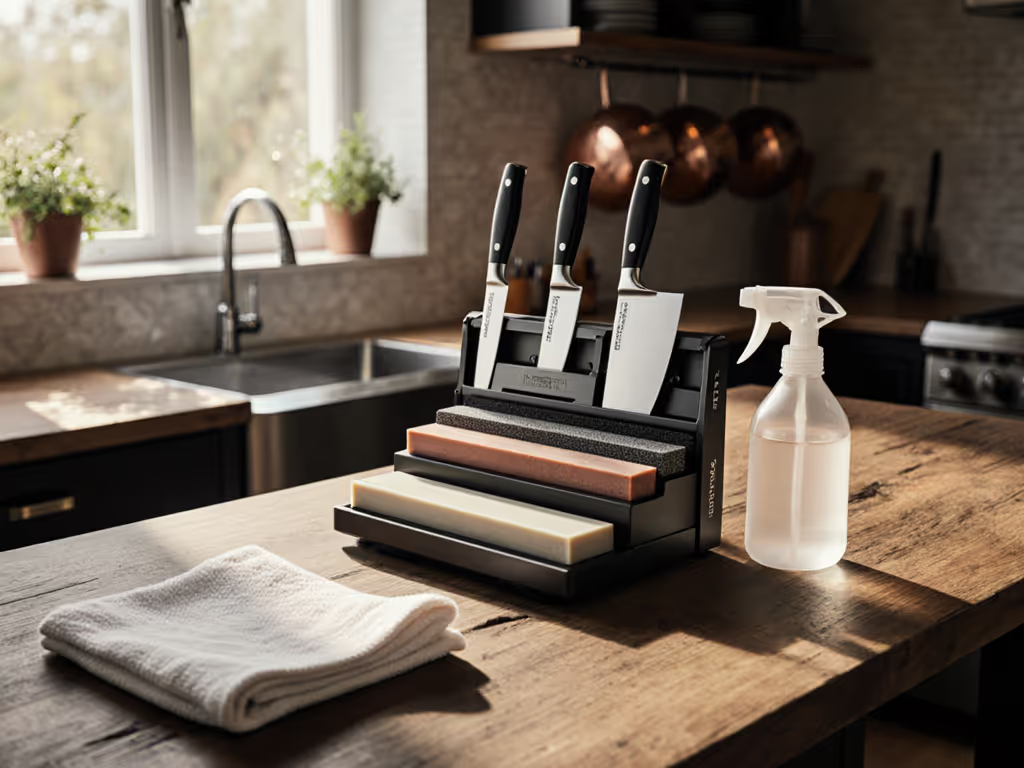
How do I select the right Japanese sharpening stones for my first set?
Begin with a progression that matches your typical steel:
- Carbon steel knives: Start with 1000 grit (shape/refine) → 3000 grit (polish)
- Stainless blades: 800 grit (re-profile) → 3000 grit (refine) → 6000-8000 grit (polish)
- Super steels (like SG2 or ZDP-189): 400 grit (fix damage) → 1000 grit → 5000 grit
The critical water stone grit comparison insight? Finer isn't always better for beginners. A 3000 grit stone will reveal angle inconsistencies more clearly than a coarse stone, while still removing material efficiently. This is why professional sharpeners often build edges on 1000-3000 grit before final polishing. Get a step-by-step plan in our grit progression guide.
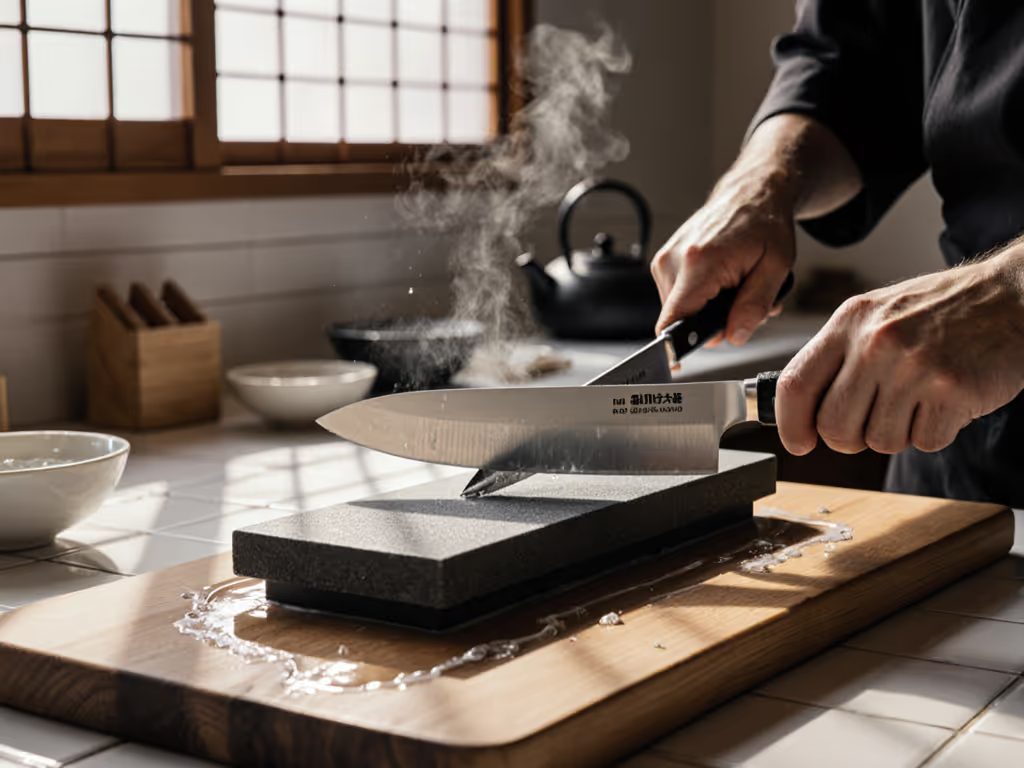
What's the proper angle for sharpening Japanese knives without damaging the edge?
Most Western knives use 20-22° per side, but Japanese blades typically demand 15-17°. If you're unsure, start with our 15 vs 20 degree explainer. However, the precise number matters less than consistency. Here's my checkpoint-driven method:
- Rest your blade flat on the stone (0°)
- Lift spine until it forms a "V" not quite halfway to vertical (about 15°)
- Place your index finger on the bevel to feel contact along entire edge
- Make 5 strokes while maintaining contact, then check for an even scratch pattern
If your knife is chipping, increase angle by 1-2°. If it's tearing food, decrease slightly. The stone will show you exactly where your angle wavers through uneven scratch patterns.
How do I avoid scratching the blade's finish during water stone sharpening?
Three safeguards prevent cosmetic damage:
- Clean your stone surface before each session (a nagura stone works perfectly for this, and more on that below)
- Wipe blade frequently to remove metal particles that could embed in softer stones
- Maintain consistent direction: never pull directly backward across the stone
The biggest myth? That stones scratch blades. Properly maintained stones create microscopic scratches that align with the edge geometry: this is sharpening, not damage. Visible scratches come from contaminated stones or inconsistent angles.
What is nagura stone usage, and why do professionals insist on it?
A nagura (small porcelain stone) solves the "slurry problem": the muddy mixture of stone particles and metal that forms during sharpening. When pressed firmly on a water stone, it creates a consistent abrasive slurry that:
- Accelerates cutting on harder steels
- Prevents glazing on fine stones
- Creates a uniform working surface
Use it like this: after 10-15 strokes, make 5 firm circles with the nagura to refresh the slurry. For nagura stone usage on finer stones (3000+ grit), apply lighter pressure, just enough to create a milky film. This simple technique transformed my sharpening when I finally understood its purpose through trial and careful observation.
How can I tell I'm sharpening correctly without specialized tools?
Develop these feedback cues:
- Sound: A consistent, damp "shush" indicates proper contact
- Tactile: Your thumb should feel even vibration along the bevel
- Visual: Even scratch pattern across entire edge
- Burr test: Gently drag thumbnail perpendicular to edge, and it should catch uniformly
When I apprenticed with Tokyo's master sharpeners, we spent weeks chasing that subtle burr whisper on inexpensive blades. That focused repetition built the neural pathways that now let me detect edge formation by sound alone. Mastery isn't mystical: it is measurable progress through deliberate repetition.
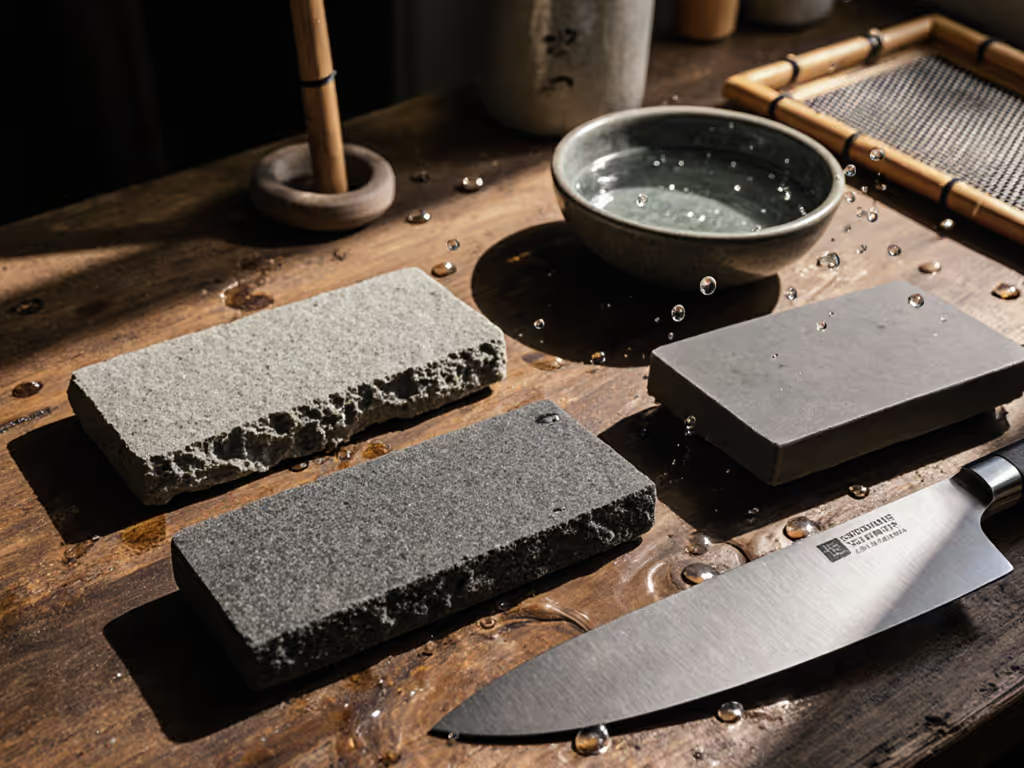
Should I soak my stones for 10 minutes or 24 hours?
Most modern Japanese sharpening stones need only surface moisture:
- Splash-and-go stones (like synthetic Shaptons): 30-60 seconds of water application
- Traditional soaking stones: 10-15 minutes until bubbles cease
- Natural stones: Follow manufacturer guidance (some require hours)
Over-soaking wastes time and creates messy slurry. The stone is ready when it stops drinking water visibly (when droplets bead rather than absorb immediately). A properly moistened stone creates a thin, creamy slurry that lubricates while cutting.
How many strokes should I use per side?
Forget stroke counts. Use feedback checkpoints instead:
- Start with bevel flat on stone
- After 5-10 strokes, check for uniform scratch pattern
- Continue until burr forms along entire edge
- Flip knife and repeat on opposite side
- Alternate sides until burr transfers fully
When the burr disappears after alternating sides, you've achieved apex formation. Then lighten the finishing passes: reduce pressure to 30% for the last 5-10 strokes to refine the edge without creating new inconsistencies.
How can I fit sharpening into my busy schedule?
Professional kitchens maintain edges daily with simple touch-ups: Learn when to hone vs sharpen so you avoid unnecessary metal removal.
- Daily maintenance: 1-2 minutes on 3000+ grit stone before service
- Weekly refresh: 5-7 minutes on 1000 grit
- Monthly rehab: Full progression only when edge fails completely
Keep a small stone by your sink for quick maintenance. Consistent micro-sessions preserve more metal and deliver more reliable edges than occasional marathon sharpening sessions.
Ready to deepen your sharpening knowledge?
True mastery emerges from focused practice with clear feedback, not from accumulating tools. Next time you approach your stone, remember that humble lesson I learned those Saturday mornings in Tokyo: the stone doesn't judge your effort. It only reveals where your control begins and ends. Keep your angles consistent, trust the feedback, and let the steel guide your hand.
For those ready to explore advanced techniques, I recommend studying traditional nagura preparation methods and experimenting with different slurry concentrations for specific steel types. The journey of a thousand edges begins with a single, deliberate stroke.
Related Articles