Sharpening Grit Progression: Build a Durable Edge in 4 Steps
By Sora Tanaka • 3rd Oct

If you've ever struggled with inconsistent edges or wondered why your knife won't hold a sharp bite, you likely need a more thoughtful sharpening grit progression. The right stone grit sequence isn't just about moving from coarse to fine, it is about creating measurable feedback points that build edge integrity without wasting metal. Forget the myth of perfection on the first stroke; true sharpness emerges from deliberate progression where each step serves a purpose. Years ago, an old sharpener made me work a single 1k stone for months, teaching me that feedback (not speed) is the foundation of mastery.
What exactly is a sharpening grit progression, and why does it matter?
A sharpening grit progression is your systematic path from edge repair to refined sharpness. It is not random jumps between stones, but a purposeful sequence that builds a durable apex while minimizing metal removal. Many enthusiasts either skip essential steps (creating fragile edges) or overcomplicate with unnecessary grits (wasting time). The sweet spot? A streamlined optimal sharpening progression that matches your steel's demands.
Control the angle, control the outcome. Steel tells the truth.
Consider this: each coarse stone creates deeper scratches that finer stones must eliminate. Jump too far between grits (like 400 directly to 3000), and your finer stone spends excessive time smoothing rather than refining. I recommend limiting grit jumps to roughly double the previous grit (a principle confirmed by both metallurgy and practical experience). This ensures efficient scratch removal while preserving edge geometry.
How many grits do I really need?
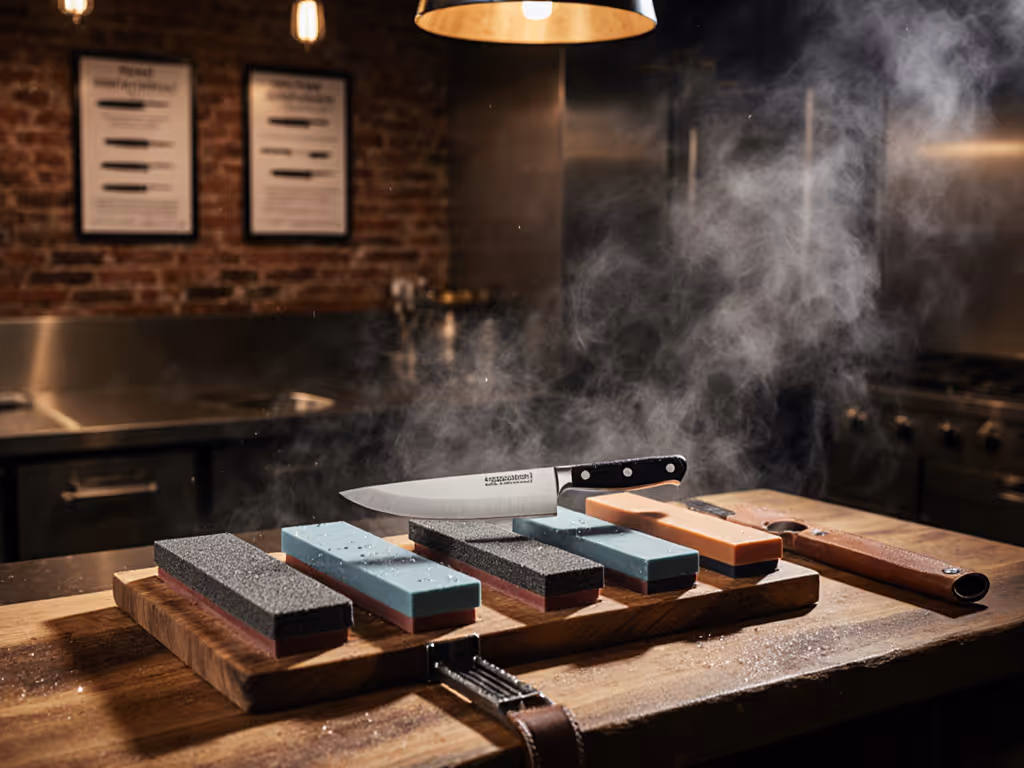
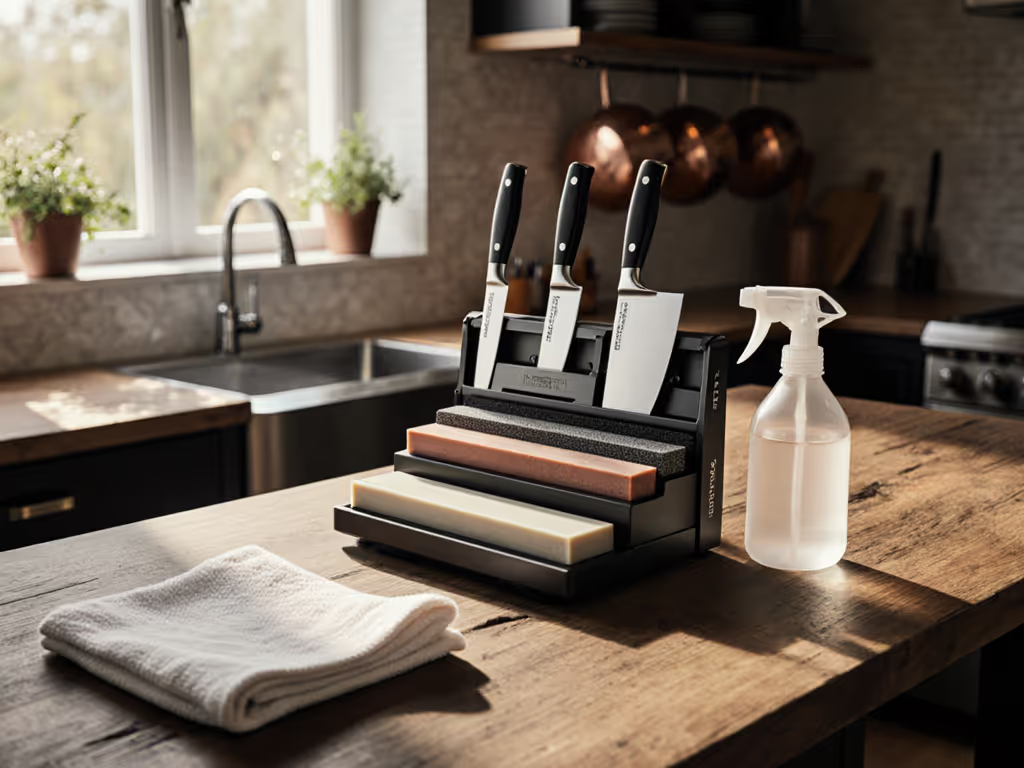
Most home cooks and knife enthusiasts succeed with just 2-4 steps. More stones create more opportunity for angle inconsistency, each repositioning accumulates micro-errors. For kitchen knives, I typically use:
- Initial shaping (if needed): 400-600 grit for resetting bevels or repairing chips
- Refinement: 1000-2000 grit to establish consistent edge geometry
- Polish: 3000-4000 grit for functional sharpness
- Finishing: 6000+ grit for specialty tasks (optional)
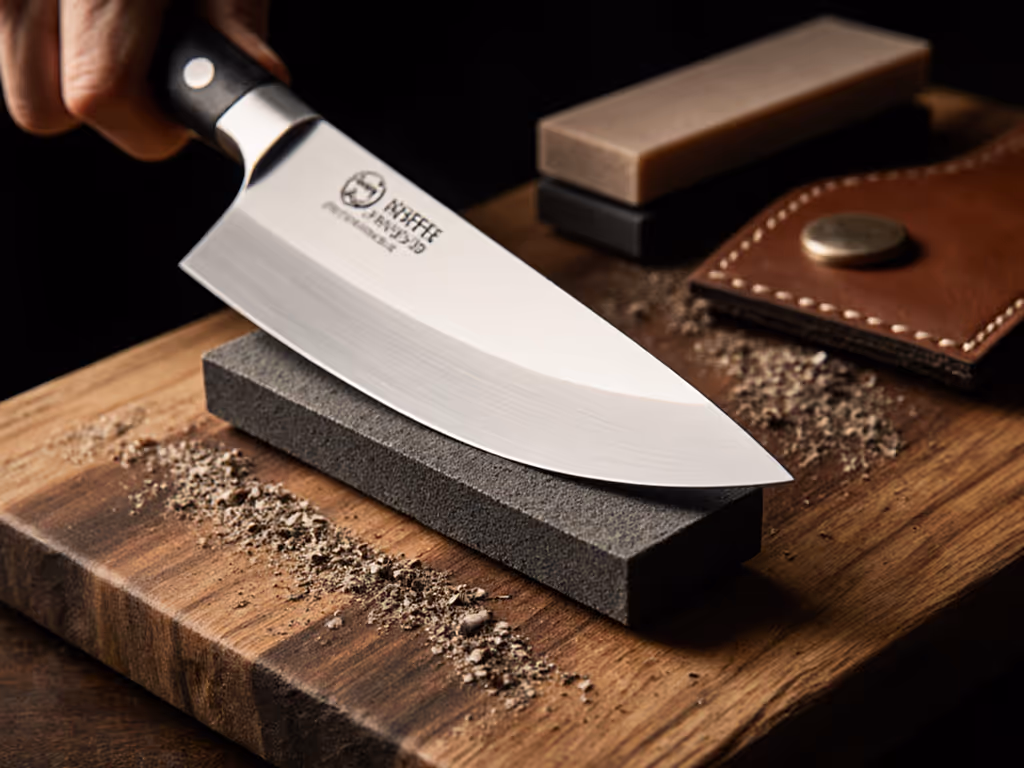
This progression mirrors the natural edge refinement process from metal removal to polish. Notice I include a 3000 grit stone as the workhorse for most kitchen applications. It creates the ideal balance of keenness and durability for slicing tasks. Stones like the Naniwa Chosera 3000 exemplify this sweet spot, efficiently bringing high-alloy steels to a reliable edge without excessive time investment.
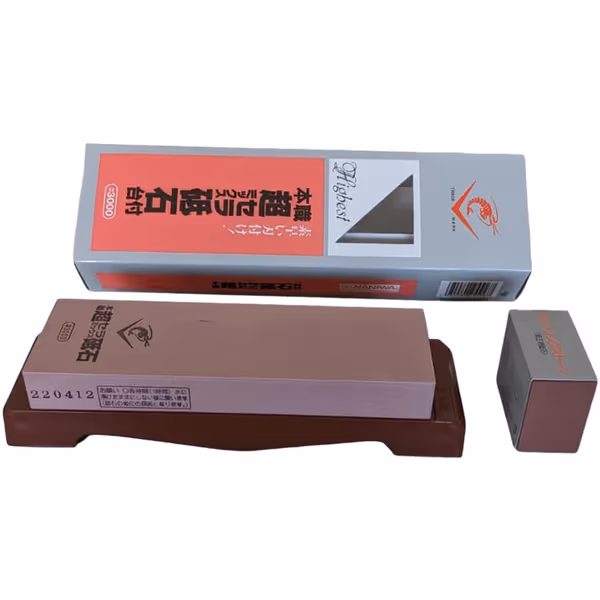
Chosera 3000 Grit Stone
Achieve razor-sharp, semi-gloss edges with this fast-cutting finishing stone.
$65
Grit3000
Grit3000
Pros
Delivers razor-sharp, toothy edges quickly
Satisfying feel and excellent performance
Includes essential dressing stone
Cons
Durability issues reported by some users (cracking)
Customers find this sharpening stone to be a great 3000 grit water stone that leaves knives razor sharp with a semi-gloss toothy edge. They appreciate its performance, fast cutting speed, and satisfying feel during use, considering it well worth the price.
Customers find this sharpening stone to be a great 3000 grit water stone that leaves knives razor sharp with a semi-gloss toothy edge. They appreciate its performance, fast cutting speed, and satisfying feel during use, considering it well worth the price.
Why shouldn't I skip directly to finer grits?
This is where many beginners stumble. Starting on fine stones with a damaged edge merely glazes over problems. You'll create what we call a "paper edge": sharp enough to cut paper but useless for food preparation. The coarse-to-fine approach guarantees structural integrity:
- Coarse grits (under 1000): Remove metal efficiently, establish bevel geometry
- Medium grits (1000-2000): Eliminate coarse scratches, establish consistent apex
- Fine grits (3000-4000): Refine the edge for functional sharpness
- Polishing grits (6000+): Optional for mirror finishes on specialized blades
Each stage requires specific feedback cues. On coarse stones, you're listening for the burr formation. When it speaks to you, it is time to switch sides. On finer stones, you're watching for scratch pattern uniformity. This checkpoint-driven approach transforms sharpening from guesswork into measurable progress.
How do I know when to progress between grits?
This is where most tutorials fail: they don't teach you what to feel. My mentor taught me to rely on three sensory checkpoints:
- Tactile: Drag your fingernail perpendicular to the edge. When you stop feeling the burr, move to the next stone
- Visual: Hold the edge to light: scratches should be uniform across the bevel
- Auditory: The stone's sound changes as scratches diminish (listen for smoothness)
I'm often asked about the "magic stroke count." There is none. Your steel, angle consistency, and pressure determine timing. This is why grit sequence explanation must include feedback literacy, not just numbers. If you're still seeing deep scratches from the previous grit, you haven't completed that stage, no matter how many strokes you've taken.
Does my knife's steel type affect grit progression?
Absolutely. Hard steels like S35VN require more patience through the coarse to fine sharpening sequence. Softer steels (like 1095) progress faster but need more frequent maintenance. High-carb steels often benefit from skipping ultra-fine grits: too much polish reduces bite for food tasks.
The key is matching your progression to the steel's characteristics, not chasing arbitrary "higher grit" targets. A well-executed 3-step progression on appropriate grits creates a more functional edge than a rushed 6-step sequence. Remember, we're crafting edges for cutting, not microscope examination.
What's the most common mistake in grit progression?
Inconsistent angles across grits. Each stone magnifies previous errors. If your angle varies by even 2 degrees between stones, you'll spend excessive time on finer grits correcting geometry. My advice? Focus on angle consistency before adding more stones to your rotation.
Another frequent error: using excessive pressure on finer stones. Always lighten the finishing passes: let the abrasive do the work. Heavy pressure creates heat that can micro-fracture the delicate apex you've worked so hard to create.
Will my edge last longer with a proper progression?
Yes, when done correctly. A thoughtful progression creates edges that cut efficiently with minimal force, reducing edge deformation during use. This isn't about creating fragile "razor sharp" edges that vanish after one tomato, but rather durable working edges that maintain performance through regular kitchen tasks.
Consider this: a rushed sharpening job might give you 30 minutes of decent performance before the edge degrades. A proper progression can yield days or weeks of reliable cutting, especially when you lighten the finishing passes to create a resilient apex.
Final Thoughts: Your Path to Reliable Sharpness
Mastering sharpening isn't about collecting every grit conceivable: it is about understanding the dialogue between stone, steel, and your hands. Start simple. Master a 3-step progression. Build your feedback literacy. The most transformative sharpening tool isn't a specific stone, it is your ability to read what the steel tells you.
Next time you sharpen, pause before reaching for another stone. Ask: what feedback am I missing? What's the cleanest path to that next refinement stage? Remember, I spent months on a single stone learning to hear the burr's whisper. That patience created more durable edges than any fancy setup ever could.
Embrace the progression, not as a chore, but as your most honest teacher. When you get stuck on a technique, ask yourself what lesson the steel is offering. With each session, you're not just sharpening knives; you're refining your own skill. Now, pick up your stone and begin where you are, your most reliable edge awaits.
Special Note: For those interested in advanced steel-specific progressions, I've compiled a detailed reference guide showing optimal grit sequences for common kitchen steels. Check the resources section below for this free download.
Related Articles