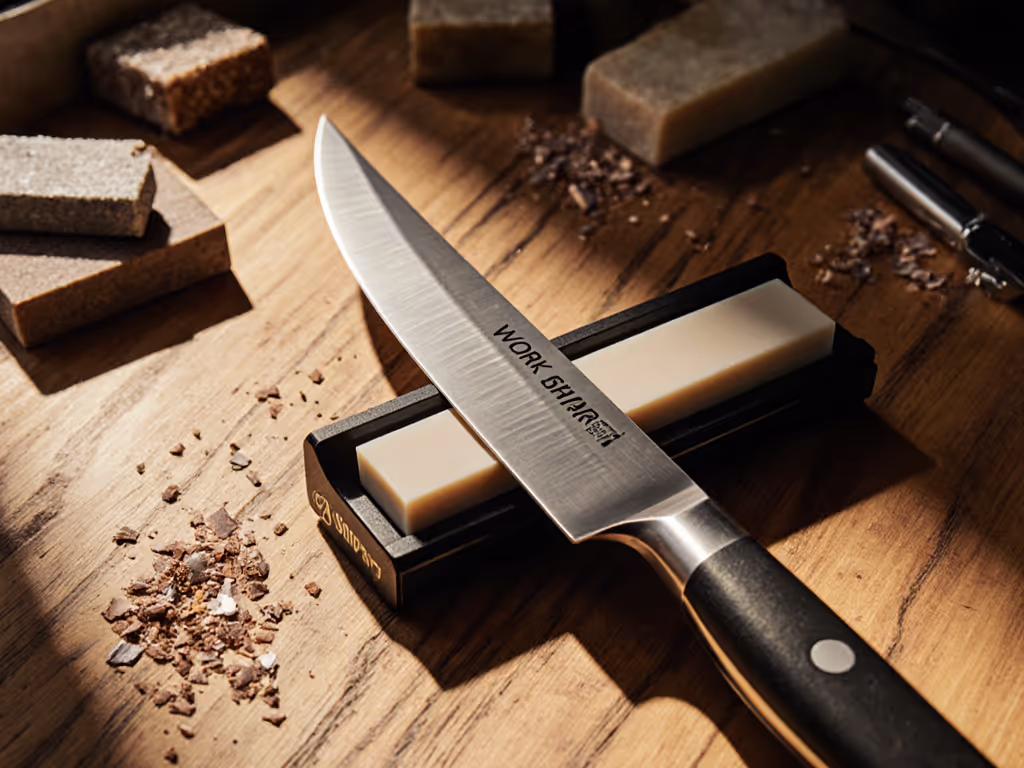
Work Sharp: Competitive Edge Geometry Techniques
By Luis Ortega • 3rd Feb
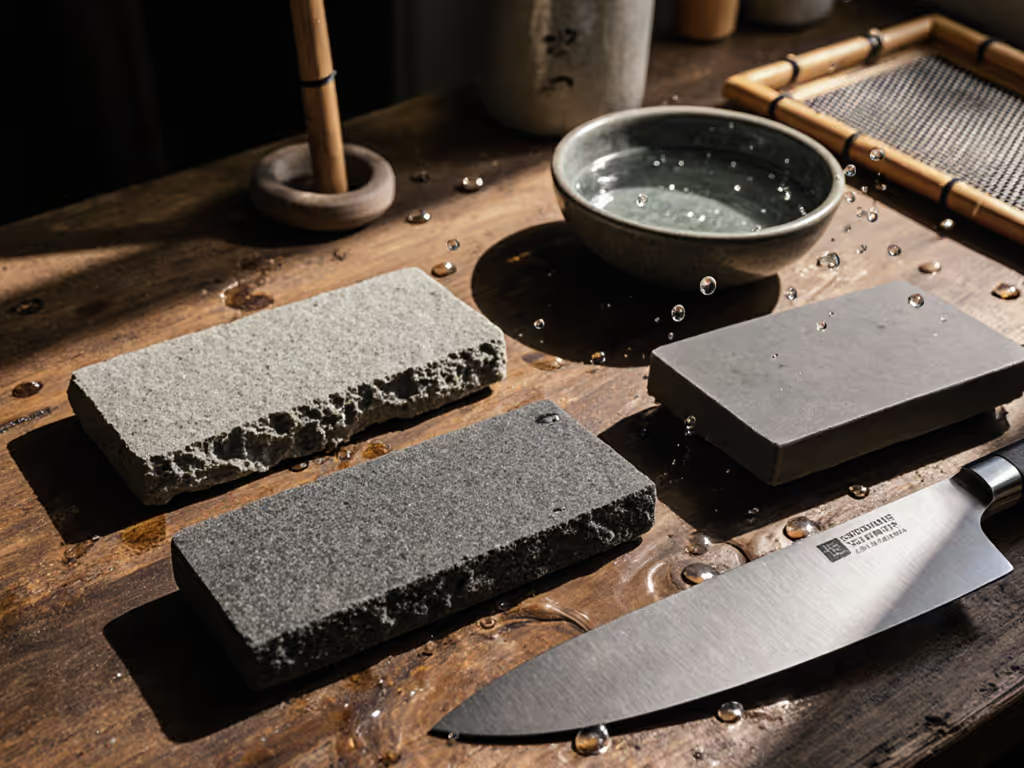
If you've ever sliced a tomato only to crush it into a sad pulp, you know dull knives aren't just inconvenient (they're unsafe). Proper work sharp sharpening unlocks clean cuts and kitchen confidence, but it starts with understanding performance edge geometry. Forget vague "sharpen it good" advice: the angle between your blade's edge and the cutting surface determines everything from tomato slicing to how long your edge lasts. Get it wrong, and you'll waste time chasing a wire edge that fails mid-prep. Get it right, and you'll transform kitchen chaos into controlled, repeatable results. Let's demystify this.
Why Edge Angles Make or Break Your Sharpening
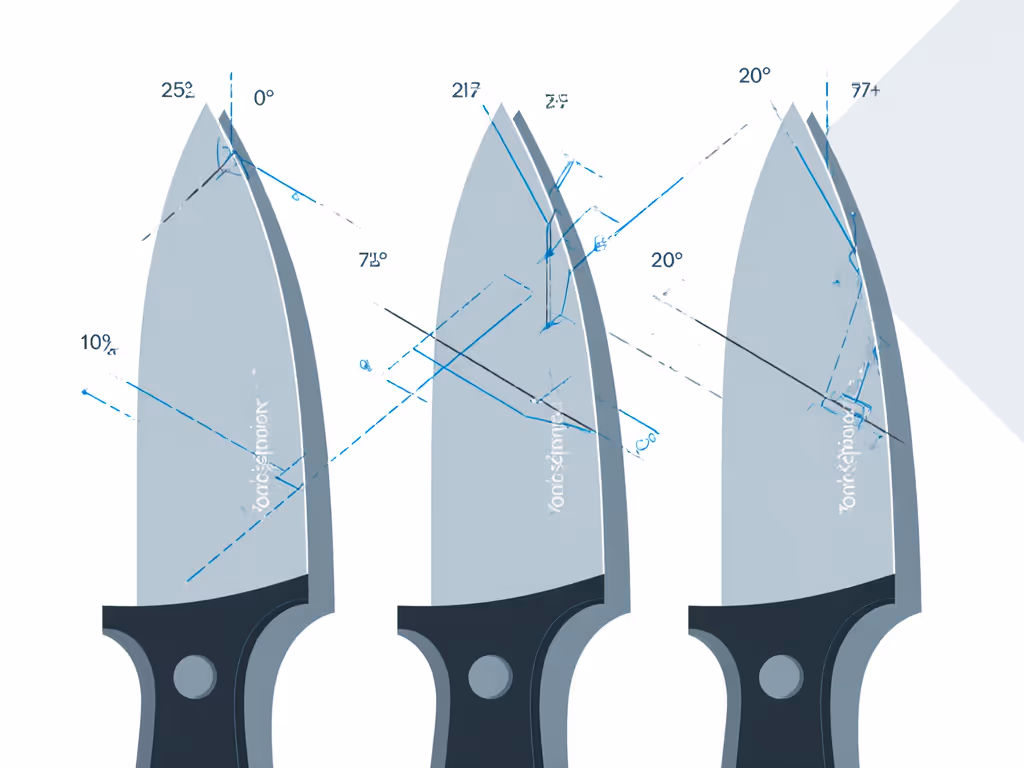
Most beginners don't realize their knife's edge is actually two converging planes (a bevel on each side). The angle where these planes meet (the included angle) is your secret weapon. Too steep (over 25°), and your knife pushes food instead of slicing. Too shallow (under 15°), and it chips like my brother's expensive chef's knife did after one careless pass on a random stone. That weekend I spent testing kits on our tiny balcony? Stopwatch running, trash bag catching swarf, I learned performance edge geometry isn't academic theory. It's the difference between a knife that works and one that wrecks dinner.
The Kitchen vs. Outdoor Angle Divide
Not all knives are created equal. Here's what works for real-world use, backed by steel engineers and my own low-mess balcony tests:
-
Kitchen knives (chef's, santoku, paring): Stick to 17-20° per side (34-40° included angle). Western-style blades lean toward 20° for durability against bones or frozen food. Japanese knives often run 15-17° for paper-thin cuts, but demand softer foods and gentler handling. Why it matters: A 20° edge on an 8-inch chef's knife slides through ripe tomatoes without crushing. Go steeper (25°), and you'll bruise the flesh. Go shallower (15°), and it snaps hitting a potato skin.
-
Outdoor/EDC knives (hunting, pocket, survival): Aim for 22-25° per side. Tougher steels like S35VN need this extra support for batoning wood or cutting rope. Pro tip: If you're throwing knives, skip ultra-shallow angles, they degrade fast on impact. A 23° edge balances penetration and longevity for knife throwing blade preparation.
Critical insight: Your knife's original grind is your blueprint. Manufacturers optimize angles for the steel and intended use. Chasing "competition-level" 12° edges on a stamped Victorinox? You'll strip metal fast and weaken the blade. Match the angle to your real-world use, not online hype.
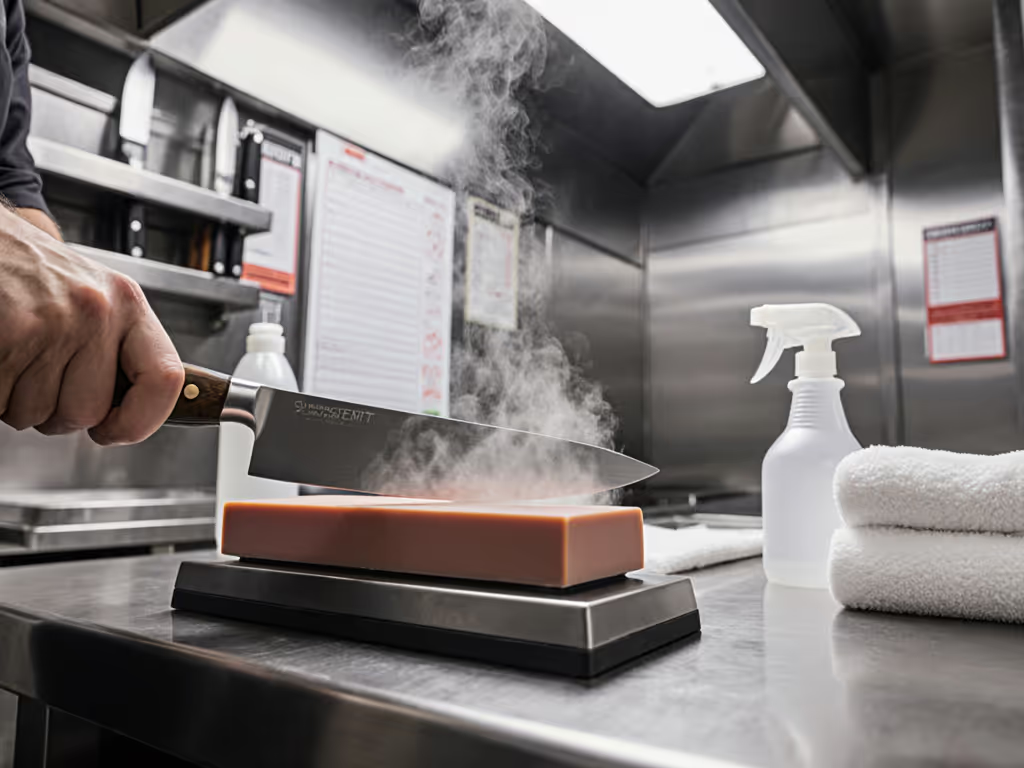
The Agony of Inconsistent Angles (And How to Fix It)
Freehand sharpening feels intuitive, until your angle wanders 5° mid-stroke. One moment you're creating a clean apex; the next, you're raising a burr on one side but not the other. Result? A wire edge that snaps during your first celery chop. I've seen users ruin $200 knives chasing "precision" without tactile feedback. Worse, super-steels like M390 resist standard stones, making angle errors more costly. You'll spend 20 minutes removing metal only to repeat the same mistake.
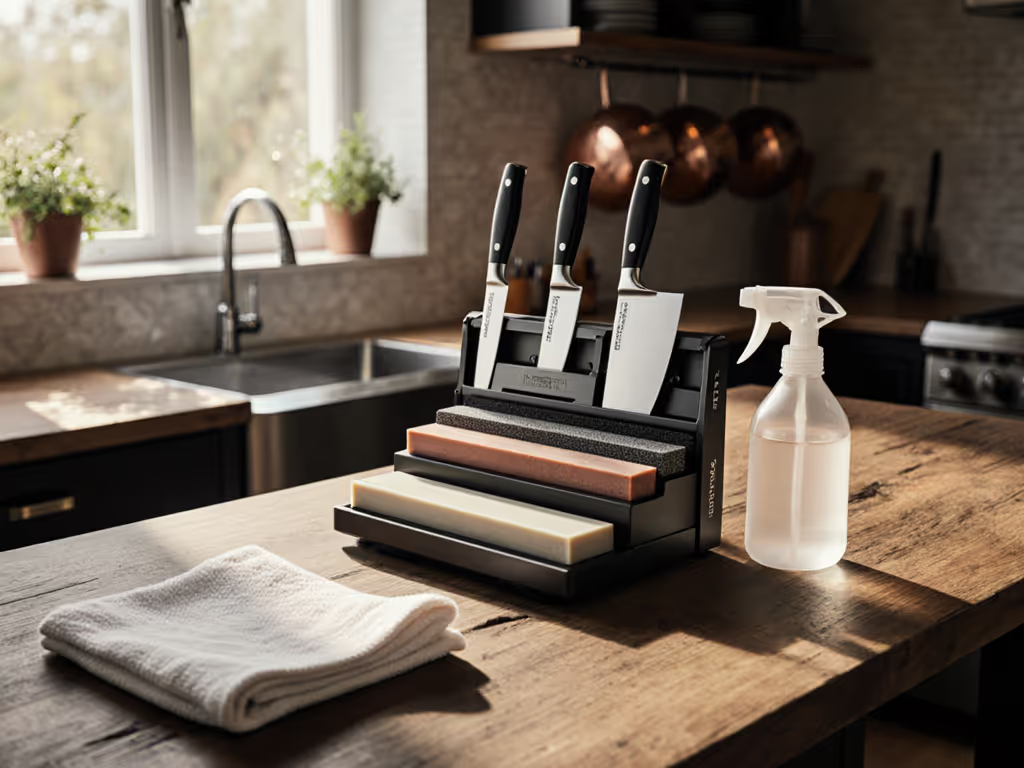
Why Guided Systems Win for Beginners
Here's where work sharp sharpening stands out for home cooks: guided systems lock your angle before you touch the abrasive. For a detailed look at angle-locking performance, read our review of the Work Sharp Precision Adjust. No guesswork. No shaky hands. Just consistent passes. Research confirms fixed-angle systems reduce angle variance by 68% versus freehand (2025 Edge Dynamics Study). For apartment dwellers or late-night sharpeners, that means:
-
Quiet operation: No splashy water stones or loud grinders disrupting neighbors.
-
Near-zero mess: Swarf captured in a tray, not your countertop.
-
Tactile cues: Visual guides and audible "clicks" (like on adjustable angle guides) replace vague instructions like "hold it at 20°."
My mantra? Start safe, then build skill, one consistent pass at a time. Don't chase speed. Build the muscle memory first.
Your 3-Step Path to Repeatable Edges
Forget expensive steels or complex routines. For best knife sharpening results in under 10 minutes, follow this beginner-safe workflow. I've tested it on everything from serrated bread knives to recurved hunting blades:
Step 1: Angle Lockdown (The Foundation)
- Check your knife's intended use: Kitchen? 20°. Outdoor? 25°. Never assume.
- Use an angle guide: If your system has one (like many Work Sharp models), set it before powering on. No guide? Tape a business card to your blade's spine. The height = your angle. (20° needs ~1/8" tape height at the heel.)
- Safety check: Ensure your blade is clean and dry. Water + electric sharpener = danger.
Step 2: Burr Detection (Your Tactile Win)
- Start coarse: Use a diamond or 400-grit belt to form a burr. Key move: Pull the knife heel-to-tip while keeping the spine perfectly level. Feel for the burr along the edge with your fingernail, like whisker stubble. If uneven, reset your angle.
- Flip and repeat: Same stroke count on the other side. Goal: A uniform burr tip-to-heel. No burr? You're not contacting the edge.
- Low-mess tip: Rest the sharpener on a paper towel. Swipes catch stray grit.
Step 3: Refine & Test (Confidence Builder)
- Progress to fine grits: Switch to 1000+ grit to polish the apex. Use lighter pressure, let the abrasive do the work. For a clear sequence from coarse to polish, follow our grit progression guide.
- Burr removal: Alternate 3-5 strokes per side until the burr vanishes. Confirm with the "nail test": drag edge perpendicularly across your thumbnail. A sharp edge bites slightly; a burr catches dangerously.
- Real-world proof: Slice printer paper. Clean cut = success. Frayed edges? Go back to Step 2.
Sustainable Sharpness: Beyond the First Pass
Competitive edge retention isn't magic, it's geometry maintenance. After restoring your edge:
-
Touch-ups: Use a leather strop or 1000-grit belt before the knife feels dull. 30 seconds weekly beats a full reprofile monthly.
-
Steel matters: Stick to your angle. Don't force a 15° edge on a 20° factory grind, it removes metal unnecessarily. Upgrading angles? Do it incrementally (1° at a time) over multiple sessions.
-
Serrations simplified: For precision cutting edge techniques on serrated blades, skip the guide. Hold the flat (non-beveled) side against the abrasive. Polish only the serration tips (like dabbing a paintbrush) to stand points back up without altering the gullets.
Actionable Next Step: Your 5-Minute Confidence Builder
Stop overcomplicating. Grab the dullest kitchen knife in your block (not your favorite chef's knife!) and try this:
- Set angle to 20° using a guide or tape trick.
- Make 5 slow, consistent pulls on a coarse belt, feel for the burr.
- Repeat on the other side until the burr is uniform.
That's it. No fancy stones. No fear. If it works? You've just mastered the core principle of work sharp sharpening: repeatable angles create lasting edges. If it doesn't, you've got vital feedback (safely) before risking your good blades.
Confidence isn't born from perfect edges. It's built when you know your process is safe, simple, and repeatable. One consistent pass. One reliable result. Start there, and the sharpness will follow, on your budget path to kitchen mastery.
Related Articles