Chisel Sharpening Stones: Consistent Precision Edges Guide
By Sora Tanaka • 22nd Jan
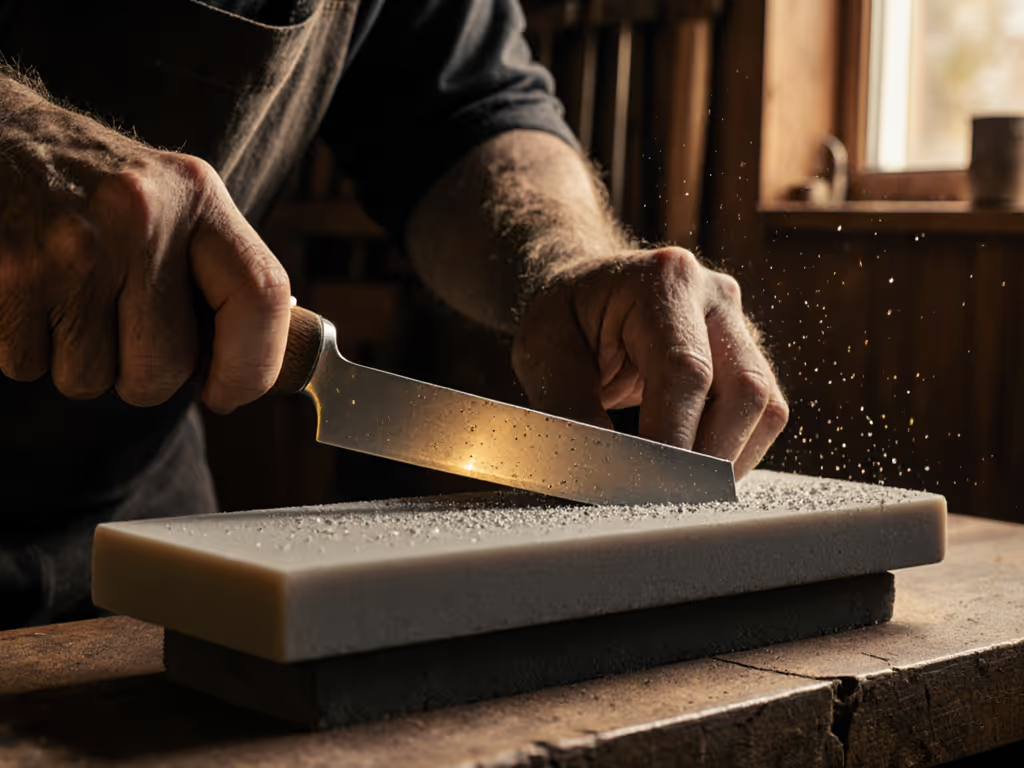
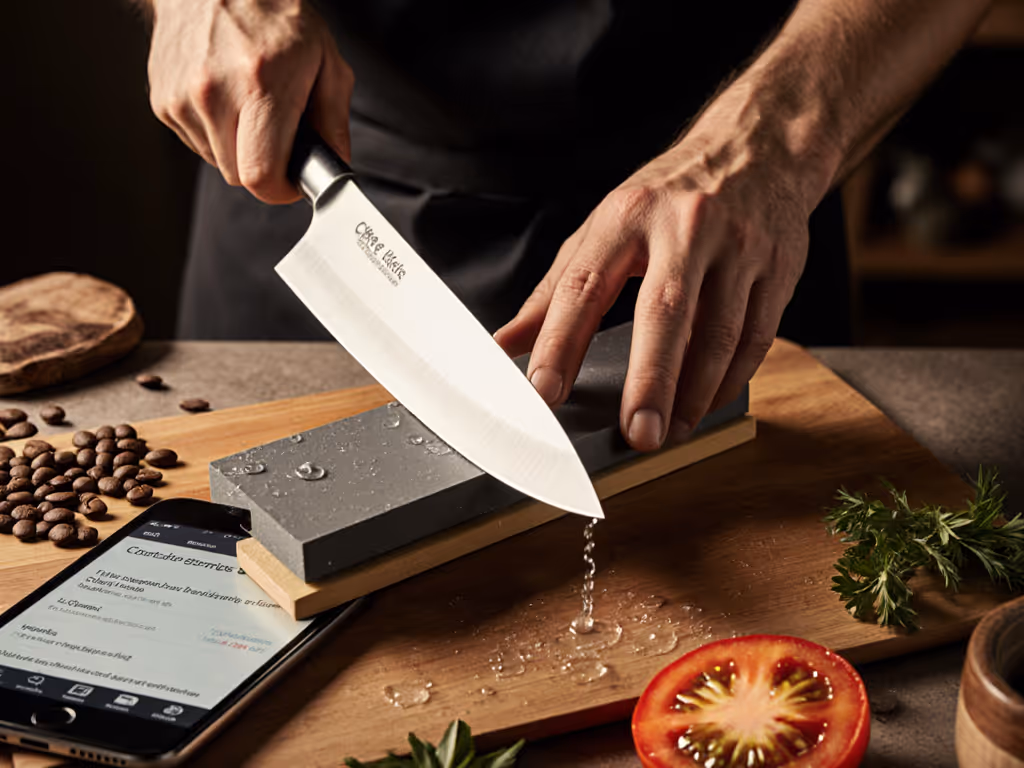
Achieving consistent performance in woodworking fundamentally depends on mastering steel sharpening techniques with appropriate chisel sharpening stones. Unlike guided systems that mask critical feedback, traditional stones provide the direct tactile and auditory cues necessary for genuine skill development. Mastery emerges not from the tool itself, but from the practitioner's ability to interpret steel's response during the sharpening process (a lesson I learned through months of chasing a clean burr on inexpensive stainless steel under the guidance of a retired sushi chef's sharpener). In this FAQ deep dive, I'll address the principles that transform sharpening from a chore into a reliable skill.
What are the fundamental principles of effective chisel sharpening?
Precision originates in angle consistency, not speed. Control the angle, control the outcome. Steel tells the truth. Every stroke must maintain identical geometry; even 0.5° variance degrades edge performance. Achieving this requires:
- Measurable checkpoints: Establish fingertip guards or visual references before beginning
- Feedback loops: Listen for the subtle change in sound when a clean burr forms
- Deliberate pacing: Two minutes of focused work yields better results than ten minutes of rushed effort
The most effective practitioners develop a rhythm that allows them to perceive the steel's resistance changing as the apex approaches. This sensitivity develops through repetition but requires stones that provide clear feedback (neither too aggressive nor too refined for the current stage of the sharpening progression).
How does steel composition affect my sharpening approach?
Different steel alloys demand specific treatment during steel sharpening. High-carbon steel responds well to water stones with moderate pressure, while modern powdered metallurgy alloys like A2 or O1 require more patience and often benefit from diamond abrasives in the initial stages.
Critical checkpoint: If your stone clogs during the first few strokes, you're using too much pressure or the wrong stone progression for your steel type.
When working with premium tool steels common in professional chisels, I recommend starting with a coarser stone than you might initially consider. The initial abrasion creates the foundation for the final edge. Rushing this phase guarantees an unstable apex. For hardened steels above 60 HRC, diamond stones often provide the necessary cutting power without excessive pressure that distorts angle consistency.
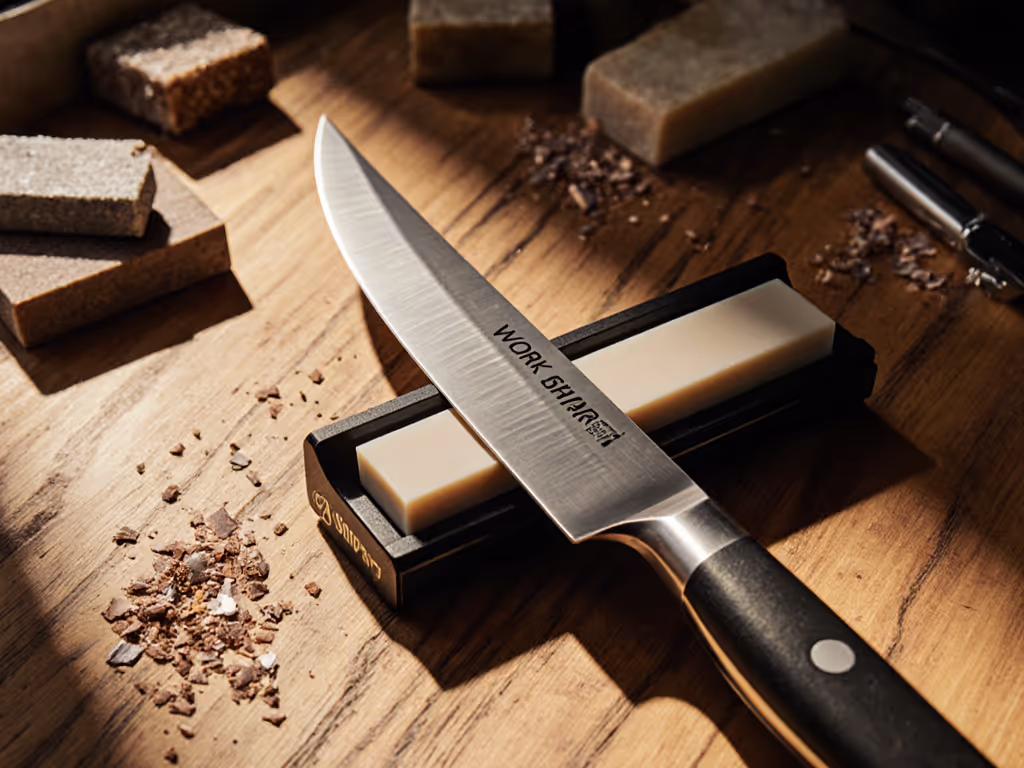
What is the proper technique for maintaining consistent edge geometry?
Woodworking edge geometry requires consistent bevel angles tailored to the tool's function. For most bench chisels, 25° to 30° works optimally, but this varies based on wood density and cutting application. The key lies in the burr management process:
- Begin with firm, consistent pressure on the bevel side
- Raise a clean burr across the entire edge (you should feel and hear it)
- Reduce pressure by 50% for the next series of strokes
- Repeat until the burr becomes inconsistent or disappears
- Deburr by alternating 3-4 light strokes on the bevel followed by back flattening
This progression creates a stable apex that lasts significantly longer than edges created through aggressive, single-stage sharpening. If you're unsure how to sequence your stones, our grit progression guide outlines the coarse-to-fine steps for durable edges. Pay attention to the texture change as you approach the clean burr. This tactile feedback is your most reliable indicator of progress.
How do I incorporate burr management into my sharpening process?
Burr control represents the most misunderstood aspect of work with chisel sharpening stones. Many practitioners either ignore it entirely or over-refine until they destroy the apex. Proper burr management requires patience and precise pressure modulation:
- Initial stage: Firm pressure to establish the bevel
- Burr formation: Noticeable resistance change as the burr forms
- Burr refinement: 50% pressure reduction to refine the apex
- Final polish: Feather-light pressure to perfect the edge
A clean burr should feel like a whisper of resistance along the entire edge, not a jagged wire. To understand what's happening at the edge, read our burr formation science explainer. If you cannot feel it, you're either applying inconsistent pressure or not maintaining proper geometry. When working with harder steels, the burr may be nearly imperceptible, requiring more sensitive tactile assessment.
What are the best practices for plane blade maintenance?
Plane blade maintenance follows similar principles but requires special attention to back flattening. Unlike chisels, plane blades demand perfectly flat backs to function correctly. My standard process:
- Begin with 400-600 grit stone to establish a consistent scratch pattern across the entire back
- Progress sequentially through finer stones, maintaining 2-3 fingers' width of contact
- Check for uniform scratch pattern under magnification
- For the bevel, follow the burr management process outlined above
The critical difference in plane blade maintenance versus chisel sharpening is the required flatness. Imperfections of just 0.001" can cause performance issues, demanding stricter attention to stone maintenance and flattening. I've found that working with harder stones (like hard Arkansas) actually provides better feedback for back flattening than softer water stones, which can develop hollows during use.
How can I adapt my sharpening technique for cabinet scrapers and other specialty tools?
Cabinet scraper sharpening requires different considerations than standard chisel work. The curved bevel demands small-radius stones or specialized tools, but the fundamental principles remain unchanged:
- Maintain consistent pressure throughout the stroke
- Focus on burr formation across the entire cutting edge
- Refine through progressive grits
For curved edges, smaller stones (2" x 8") provide necessary maneuverability. I recommend using a leather strop charged with chromium oxide after stone sharpening to refine the edge without altering the critical hook geometry. The feedback loop becomes even more crucial here, since you cannot visually inspect the apex easily, you must rely entirely on tactile and auditory cues.
What are common mistakes to avoid in chisel sharpening?
Three errors consistently undermine sharpening success:
- Inconsistent angles: Caused by improper hand positioning or lack of reference points
- Ignoring the burr: Jumping to finer stones before establishing a proper apex
- Inadequate stone maintenance: Using uneven stones that create irregular geometry
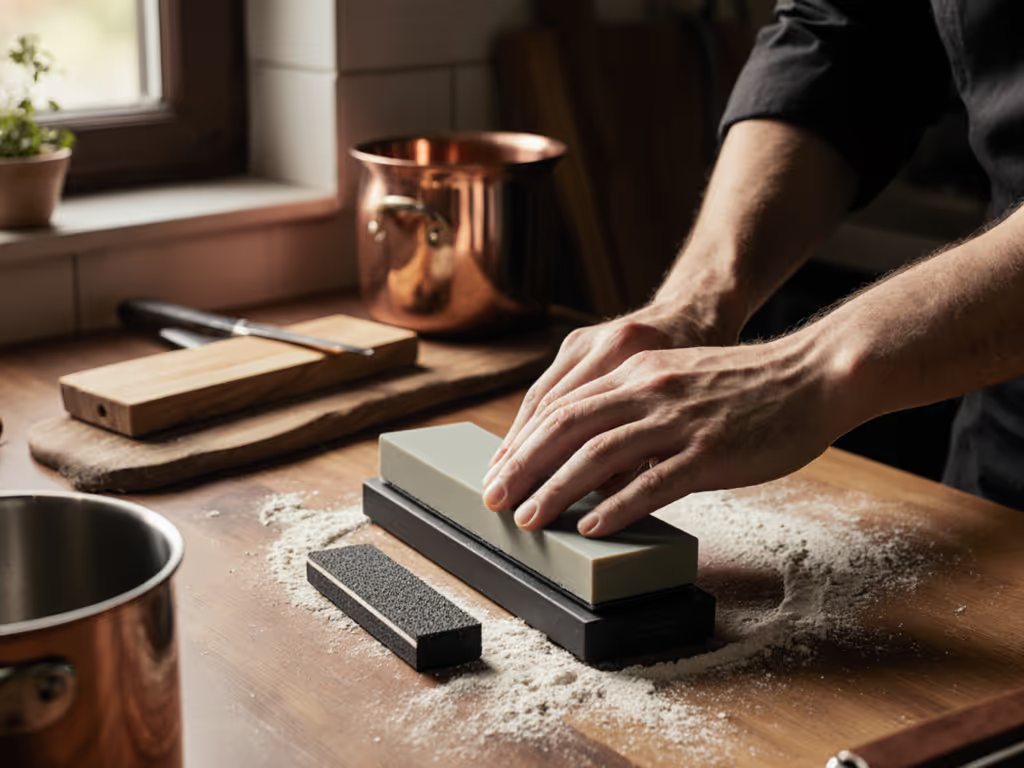
I've watched countless practitioners ruin hours of work because they didn't take thirty seconds to flatten their stone. Proper stone maintenance isn't optional. Build a maintenance routine with our sharpening tool upkeep guide. It is integral to the sharpening process. A warped stone cannot produce a straight edge, no matter how skilled the practitioner.
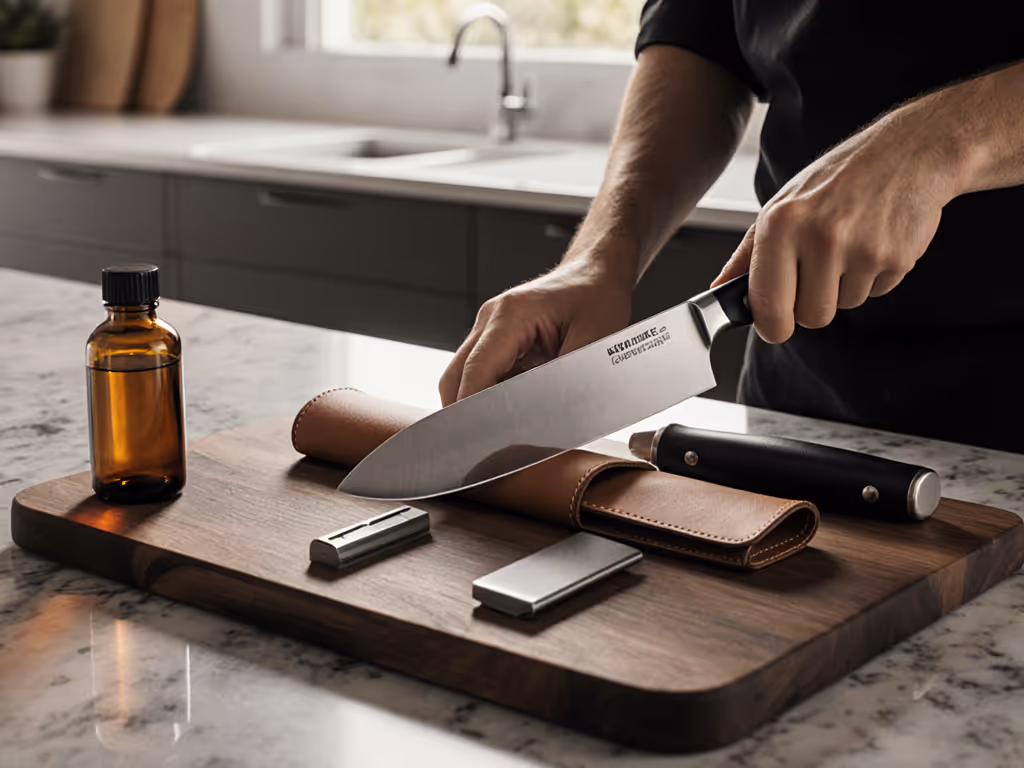
How does my environment affect sharpening effectiveness?
Your workspace significantly impacts results. Sharpening work requires stable surfaces and adequate lighting to perceive subtle feedback cues. In constrained spaces, I recommend:
- Securing stones with non-slip mats rather than freehand
- Using splash-and-go stones rather than those requiring soaking
- Maintaining a dedicated sharpening station to minimize setup time
Many home woodworkers struggle with inconsistent results because they sharpen on different surfaces with varying setups. Set up a more consistent workflow with the right sharpening station accessories. Consistency in your environment directly translates to consistency in your edges.
Conclusion: The Path to Mastery
True sharpening skill develops through deliberate practice with clear feedback mechanisms, not through expensive tools or complicated systems. The stones themselves merely reflect your technique; they cannot compensate for inconsistent angles or improper pressure. When you raise a clean burr through mindful practice, you've established the foundation for exceptional edges that last.
For further exploration, I recommend studying edge geometry diagrams with magnification tools to understand how microscopic imperfections affect performance. Experiment with different steel types using the same technique to observe how material properties influence your sharpening process. Most importantly, commit to regular practice with measurable checkpoints. Your steel provides the most honest instructor you'll ever have.
Consistency over speed: every stroke must serve a purpose in building your edge.
Related Articles