How to Build a Culinary Sharpening Curriculum
By Owen MacLeod • 20th Apr
A culinary school sharpening curriculum and professional chef training are only as credible as their outcomes in a functioning kitchen (under speed, volume, and the constraints of real service). If your sharpening education doesn't translate to faster prep, longer edge retention, and safer hands during dinner rush, it's theater. This guide decodes what a field-worthy curriculum must include, why each component matters, and how to architect training that survives contact with reality.
Why a Formal Sharpening Curriculum Matters
Many culinary programs skip sharpening or treat it as an afterthought. That's a liability. Dull knives slow prep, demand more force (raising injury risk), crush rather than slice produce, and accelerate wear on expensive blades. A structured culinary education sharpening program addresses this gap. It transforms sharpening from mystique into repeatable, measurable skill, the same way knife cuts or sauce technique are taught.
The payoff: consistent edge quality, reduced blade replacement costs, faster staff onboarding, and safer kitchens. Those outcomes aren't abstract; they show up in production time and accident logs.
FAQ: Building Your Curriculum
What Are the Three Pillars of Any Sharpening Curriculum?
A functional curriculum rests on three pillars:
-
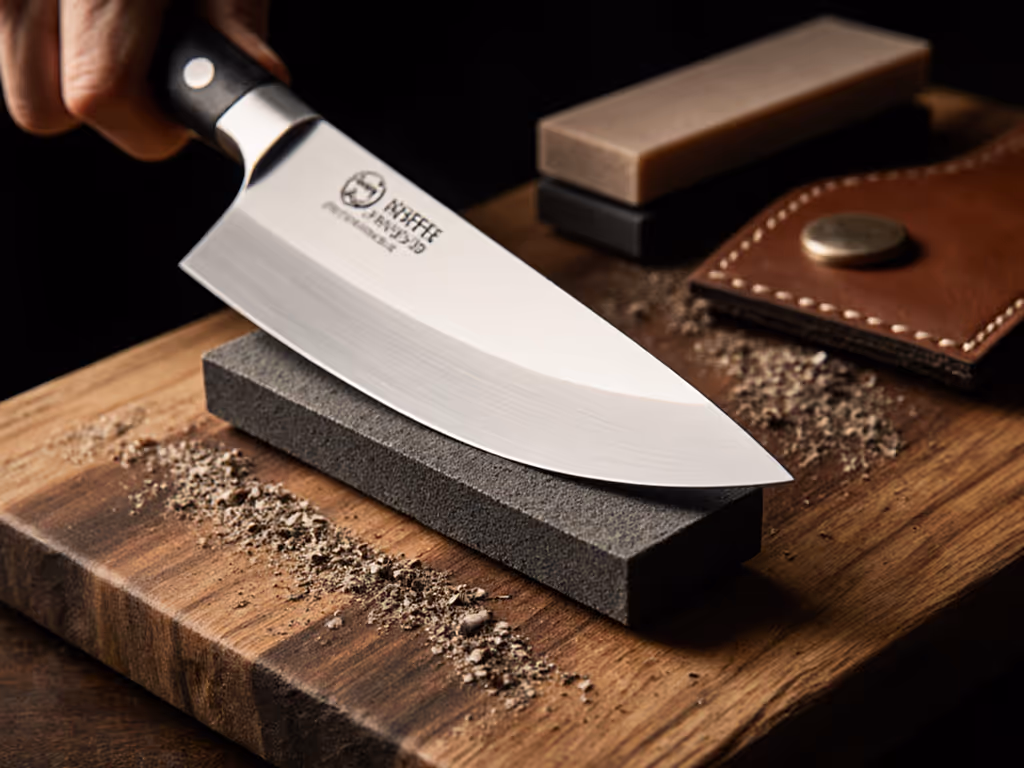
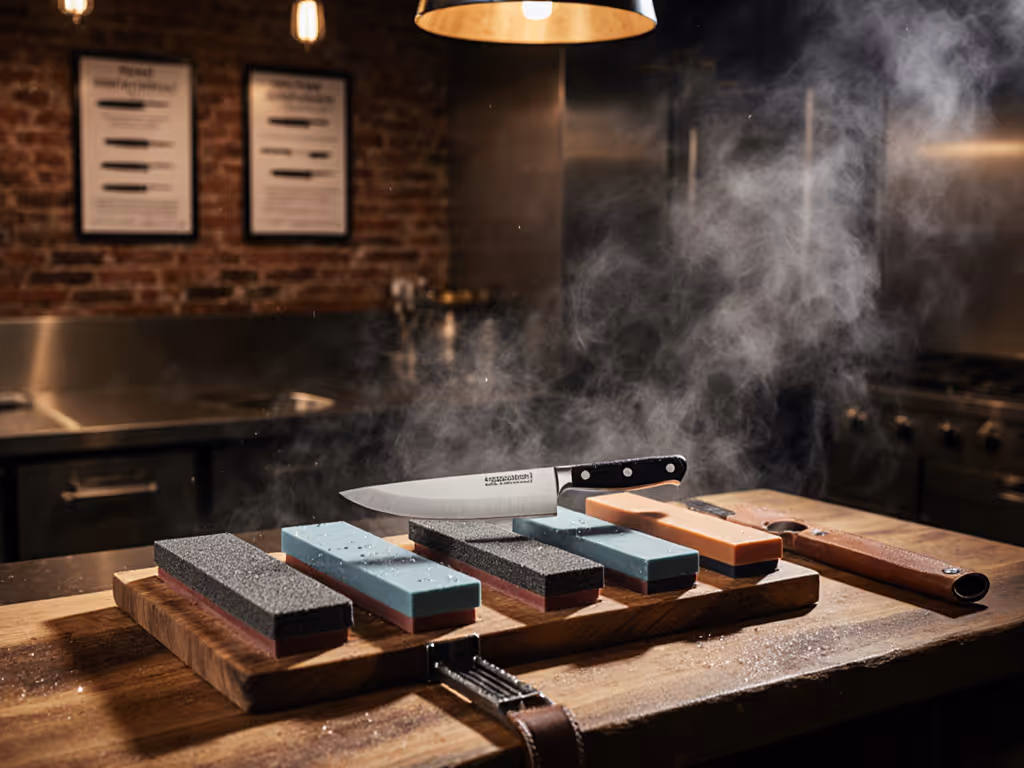
System Knowledge: Understanding which sharpening method fits which situation. Manual stones, guided systems, and electrics each have speed-to-sharp, precision, and mess profiles. For a structured overview of these approaches, see our whetstone vs electric comparison. A three-grit system (coarse for repair, medium for refinement, fine for finishing) is the industry standard because it mirrors the progression of skill. Coarse stones repair damage and set initial geometry. Medium stones refine edges to usable sharpness. Fine stones achieve polished apexes that last longer under load.
-
Steel Literacy: Different steels demand different approaches. Carbon steels (1095, 52100) are durable and sharpen predictably but require more frequent maintenance and oil care. Stainless steels resist corrosion but may require slightly different grit sequences or abrasive types. High-carbon stainless (like German chef knives) falls between: tougher than carbon, more forgiving than hard stainless. A curriculum must address these differences explicitly, not assume a one-size-fits-all stone works everywhere.
-
Repetition Under Constraint: Students learn by sharpening their own knives under kitchen conditions (time pressure, distraction, standing for minutes at a time). Your curriculum must include supervised practice with timers, edge-testing protocols, and gloves-on usability checks. If a system fails when the sharpener is cold, tired, or rushed, it fails. Period.
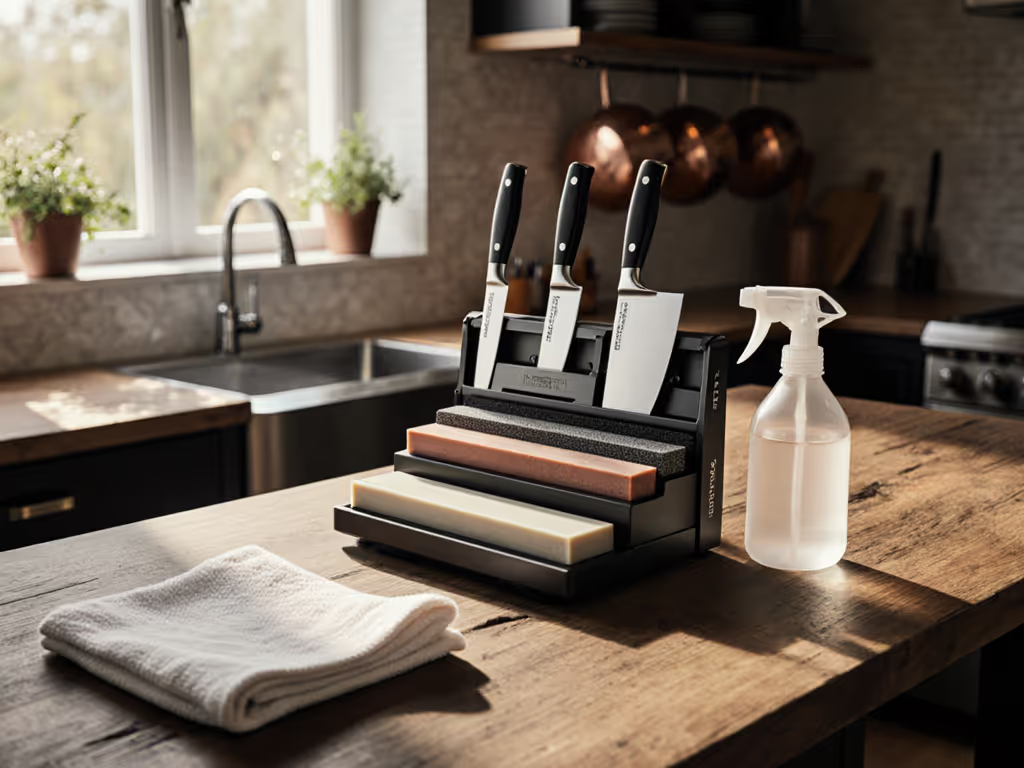
What's the Minimum Toolkit to Teach Sharpening?
Don't overwhelm students with every possible tool. Start with essentials:
-
Sharpening stones or diamond plates: Diamond stones are durable and tolerant of field use; water stones and ceramic stones offer finer results for precision work. Choose based on your kitchen's primary steel types and volume. Diamond plates survive abuse; they're ideal for busy kitchens.
-
Honing guides or fixed-angle systems: Manual sharpening systems with guides and a stable base allow precise control over sharpening angle. This is crucial for consistency, which is the reason 20 degree angles are standard for American and European knives. Guided systems remove the biggest variable: hand-angle wobble. Beginners should always start with a guide.
-
Stropping compound and leather or fabric: Stropping maintains edges between sharpenings. Learn proper technique in our leather strop guide. It's fast (30 seconds), low-cost, and preserves blade life by deferring full re-profiles.
-
Burr removal tools: A fine grit stone or light sandpaper finishes the job by removing the wire edge (burr) left after coarse sharpening.
-
Edge-testing protocol: A tomato, a paper cut test, or a formal BESS score. Your curriculum must teach students to verify sharpness objectively, not by guesswork.
How Often Should You Sharpen in a Professional Kitchen?
Frequency depends on volume:
-
High-volume kitchens: Weekly or more frequent touch-ups on fine stones, with full sharpening monthly.
-
Moderate use: Bi-weekly or monthly, depending on usage and steel type.
-
Low use: As-needed, but never let an edge dull to the point of crushing food.
Your curriculum should teach maintenance rhythms, not just technique. For timing benchmarks by use case, see our how often to sharpen knives guide. Establish a kitchen log: who sharpened which knife, when, and what grit was used last. This data reveals wear patterns and prevents over-sharpening, which erodes blades faster than neglect.
What's the Role of Micro-Bevel Strategy in Training?
A micro-bevel is a secondary, finer edge angle applied to the apex after primary sharpening, and it extends edge life significantly. Instead of a single 20 degree angle, a knife might be sharpened at 17 degrees for durability, then micro-beveled at 20 degrees for immediate cutting performance. The result: the edge lasts longer and cuts better, even under load.
Teach micro-bevels as an intermediate skill. Beginners start with single-angle sharpening and burr removal. Once they're consistent, introduce micro-bevels on a fine stone (one or two passes per side). The time cost is negligible (under two minutes additional), and the edge life gain is real. This aligns with data: edges refined with micro-bevels survive restaurant service 15 to 25% longer before requiring reprofile.
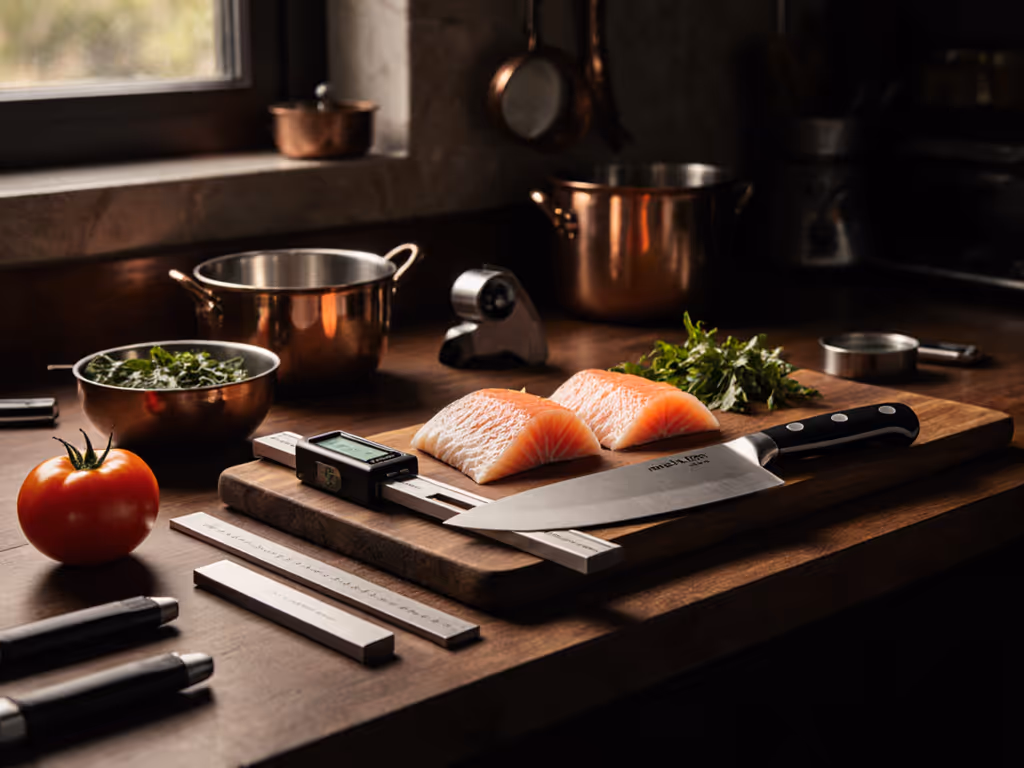
How Do You Test Edge Quality in Training?
Subjective feel isn't enough. Your curriculum must include objective metrics:
-
Tomato slice test: A sharp knife glides through tomato skin without crushing; a dull knife crushes and tears. This is real, visible, repeatable.
-
Paper cut test: A sharp knife cleanly severs paper fibers; a dull knife struggles or deflects. Quick and immediate feedback.
-
BESS edge-retention scoring: A formal bench test measuring how far a knife can drag across a standardized material before dulling. Not every kitchen needs lab gear, but if you invest in it, it's data your students can trust.
Assign practice rounds where students sharpen a blade, test it, score it, then compare notes. Consistency improves rapidly when students see objective results.
What About Specialty Edges and Blade Types?
A complete curriculum addresses more than chef knives:
-
Serrated blades: Similar sharpening angles, but work on a fine stone to sharpen individual teeth. Skip the coarse grit. Serrations do not need heavy reprofiling unless damaged.
-
Cleavers and curved blades: Require careful guide positioning and sometimes manual technique, as guides may not fit. Teach these as advanced modules after single-bevel mastery.
-
Offset or delicate blades: High-carbon stainless used in pastry or fish work. Handle with care, and reduce grit aggression on soft steels.
Group specialty blades into a separate, intermediate or advanced module. Don't overwhelm beginners.
What's the Maintenance Burden for Your Sharpening System?
This matters for sustainability. Transparency builds trust:
-
Stone flattening: Water and ceramic stones dish over time; diamond plates last longer. Budget for flattening tools or replacement stones yearly, depending on volume.
-
Stropping compound: Inexpensive; replace every 6–12 months.
-
Belt or honing guide replacement: Guided systems may require maintenance; budget accordingly.
Your curriculum should include a section on professional kitchen maintenance costs. If your school teaches a system that requires expensive upkeep, disclose it. If students graduate and can't afford to maintain what they learned, your curriculum failed them.
How Do You Train for Speed and Consistency Under Pressure?
This is where field-worthy training separates from theory. Once students master the mechanics, add scenario pressure:
-
Timed rounds: Sharpen a knife in 5 minutes. Test the edge. Repeat. Speed comes with repetition, but not at the cost of quality.
-
Gloves-on practice: Sharpening in winter gloves or thin cut-resistant gloves (as in a real kitchen). If the system falls apart when hands are cold or covered, it's not ready for service.
-
Interrupted tasks: Ring a bell mid-sharpening; students must pause, note their progress, resume cleanly. Real kitchens are interrupted constantly.
-
Stress-test the edge: After sharpening, assign students to cut 50 tomatoes or a prep-heavy station before re-testing. Does the edge hold, or does it fold? This is how you know training stuck.
Summary and Final Verdict
A professional chef training program that omits sharpening skills or treats it as optional is incomplete. A rigorous knife skills curriculum must include three components:
First, teach the mechanics: three-grit progression, angle consistency, and burr removal with supervised practice and objective edge-testing.
Second, address steel diversity and maintenance rhythms so graduates can adapt to any kitchen's inventory and workflow.
Third, train under constraint (speed, gloves, interruption, and stress) so students graduate with confidence and speed.
The final test isn't what happens in your training space. It's what happens during dinner service six months after graduation. If your graduates' edges are dull, broken, or unsafe, your curriculum didn't transfer. If their knives stay sharp, their prep is fast, and injuries drop, it worked.
Build your curriculum around that outcome. Validate it in the field, not in theory.
Related Articles