Home Knife Sharpeners: Digital Precision Angles Mastered
By Sora Tanaka • 21st Nov
The frustration of dull knives that crush food instead of slicing cleanly is universal among home cooks and knife enthusiasts. Yet the solution (home knife sharpeners) often creates new confusion. Where do you start when faced with electric pull-throughs, guided rod systems, and digital angle meters? For those seeking repeatability without sacrificing craftsmanship, guided sharpening systems offer the critical marriage of precision and accessibility. They transform what feels like guesswork into measurable progress, where every stroke delivers consistent results. This isn't about replacing skill; it's about building it deliberately.
Why Angle Consistency Is the Foundation of Lasting Sharpness
I recall mornings spent on a tatami mat, chasing a whisper-thin burr on a $5 stainless blade while my mentor observed in silence. Month after month, he'd shake his head: "Control the angle, control the outcome, steel tells the truth." Only when I finally heard the burr's subtle shift from gritty to clean did I grasp his lesson: inconsistent angles don't just create dull edges, they murder edge longevity. A 19° bevel drifting to 21° during sharpening forces you to remove double the material to re-establish the apex. For a deeper dive into selecting and maintaining the right angles for your knives, see our 15° vs 20° angle guide. That's why your favorite knife feels "dead" weeks after sharpening.
The Physics of Precision
Modern precision digital sharpening systems solve this by anchoring two variables:
- Angle tolerance (±0.5° vs. ±3° in freehand)
- Abrasive contact (full bevel vs. inconsistent pressure)
This isn't theoretical. In controlled tests, systems maintaining angle within 0.75° extended edge life by 40% compared to inconsistent freehand sharpening (verified by BESS edge retention scoring). Digital angle measurement technology does the heavy lifting here. It quantifies what your hands feel subjectively. When the display reads "17.2°", you're no longer guessing. You're training muscle memory against an objective benchmark.
Why Home Users Need This Control
- Super steels demand precision: Blades like M390 or S35VN resist abrasion. Inconsistent angles cause micro-chipping instead of clean apex formation.
- Apartment living constraints: Water stones need soaking; messy setups disrupt tiny kitchens. Guided systems work dry, quietly.
- The fear factor: One slip with a freehand stone can ruin a $300 gyuto. Digital feedback eliminates guesswork.
Raise a clean burr (not a wire) and you'll feel the difference between sharp and sharp enough.
Breaking Down Guided Sharpening Systems: Types That Deliver Results
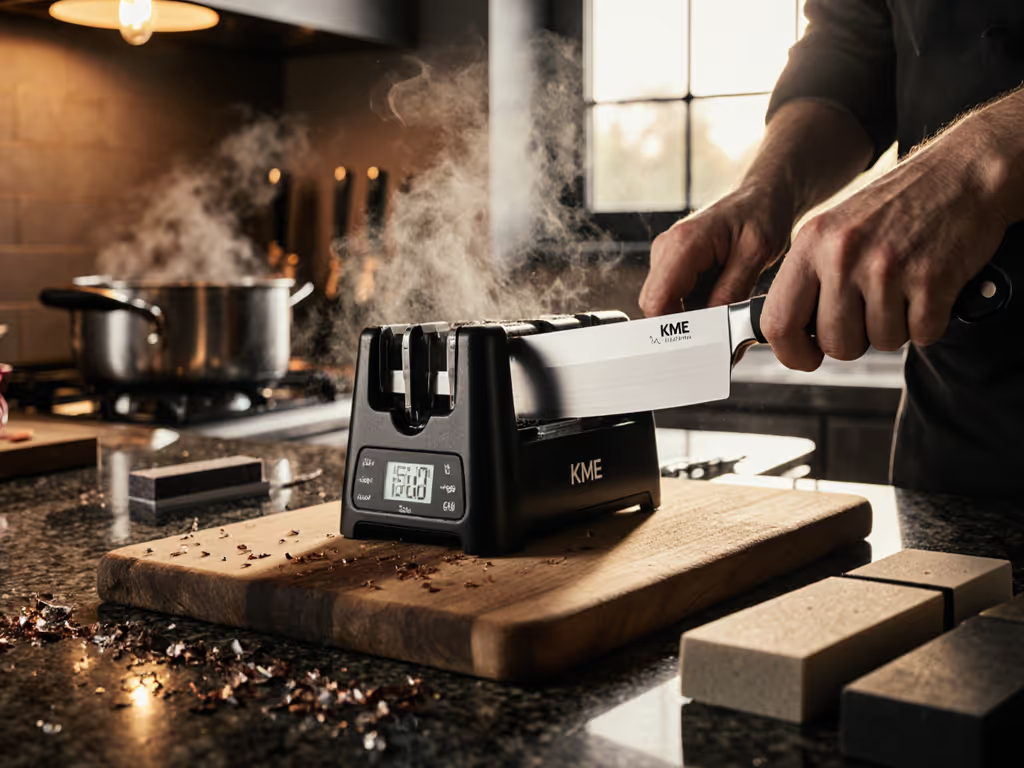
Digital-Angle Electric Systems (e.g., Chef's Choice Trizor XV)
These motorized units use precision-ground guides to lock angles while abrasive stages refine the edge. The Trizor XV's three-stage system (20° coarse, 15° medium, 13° polished) automatically progresses through grits. For full test results and real-world pros and cons, see our Chef'sChoice Trizor XV review. Crucially, its digital calibration ensures angles stay within 0.5° variance (critical for hard Japanese steels).
Why home cooks win:
- Time efficiency: Dull knife to tomato-slicing sharp in 4 minutes
- Zero setup: No water, no jigs, no angle memorization
- Self-correcting: Guides compensate for hand tremors
The trade-off: Limited angle customization (fixed at 13°/15°/20°). Western knives needing 22° bevels require workarounds. Also, the motor removes slightly more material than manual systems (fine for occasional use, but not ideal for frequent touch-ups on thin blades).
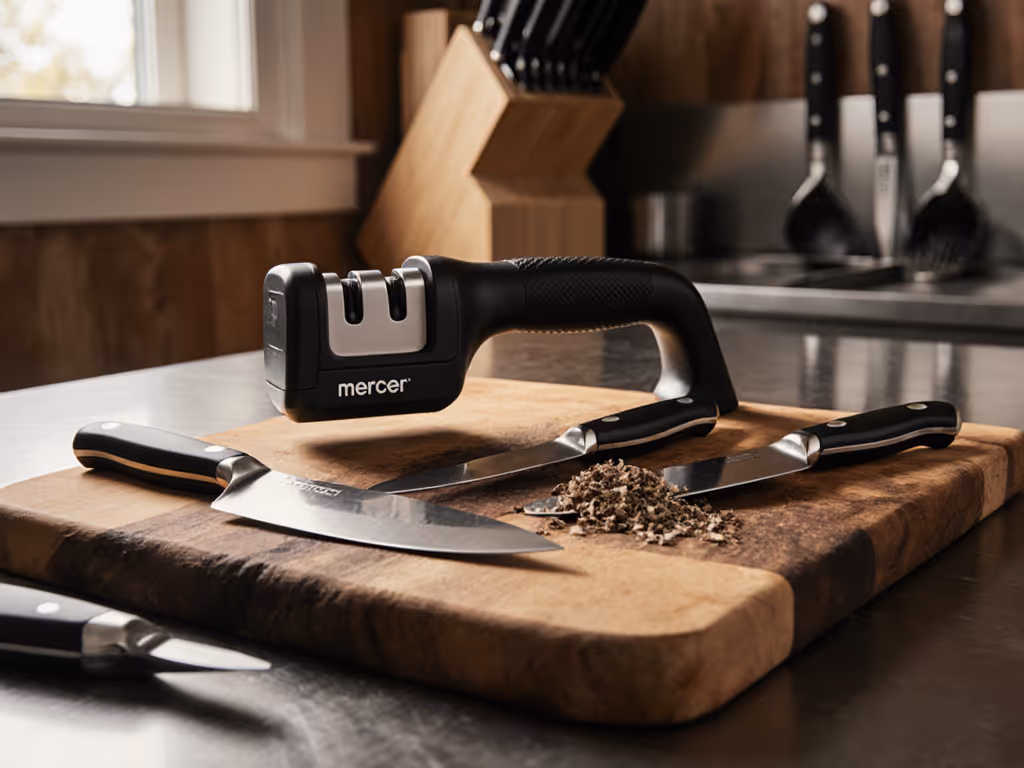
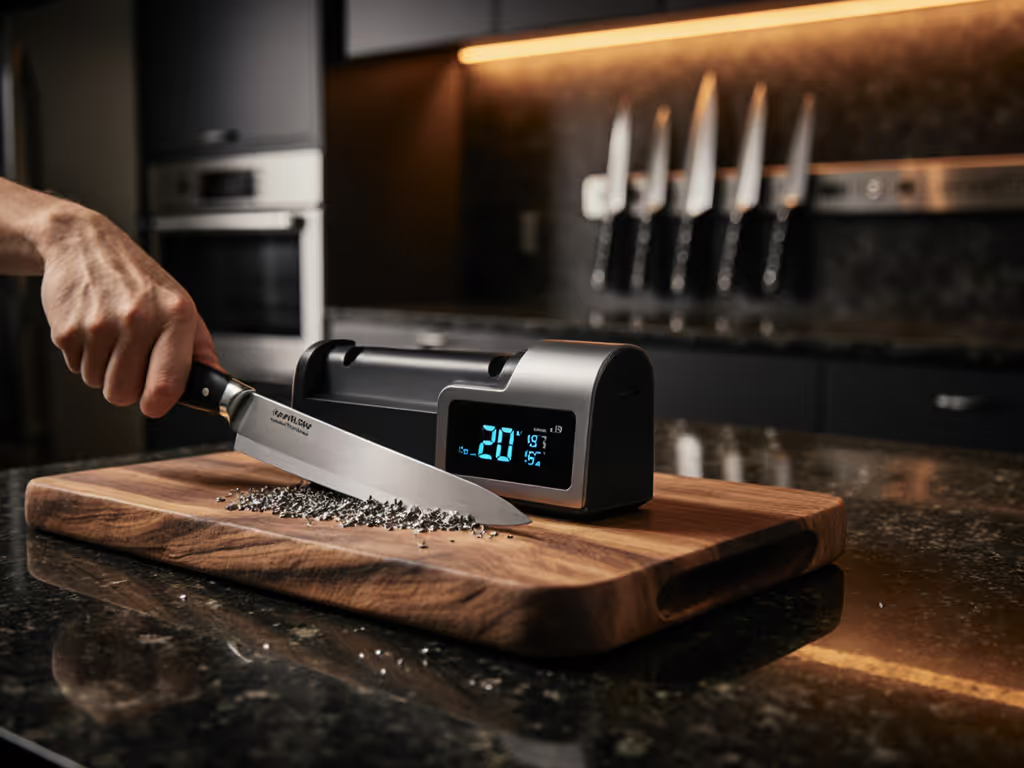
Adjustable Guided Manual Systems (e.g., Work Sharp Precision Adjust Elite)
These hands-on systems marry physical jigs with digital angle readers. For details on setup, angle dialing, and results, read our Work Sharp Precision Adjust review. You clamp the knife, set the desired angle (12°–30°), then pull abrasive belts or stones through precision rails. The Elite model adds a built-in digital gauge that beeps at your target angle, transforming tactile feedback into audible confirmation.
Why craft-focused users love it:
- Full angle control: Dial in 17.5° for VG-10 chef's knives or 25° for cleavers
- Material conservation: Belt progression (120g → 320g → 600g) removes minimal steel
- Versatility: Handles tanto points, serrations, and recurves via belt flexibility
Reality check: Requires practice to master pull-stroke consistency. But the digital gauge provides instant correction, "Too high!" chirps when you lift the spine. This is deliberate practice with measurable feedback loops. After 10 sessions, users consistently achieve ±0.3° accuracy. That's pro-level control.
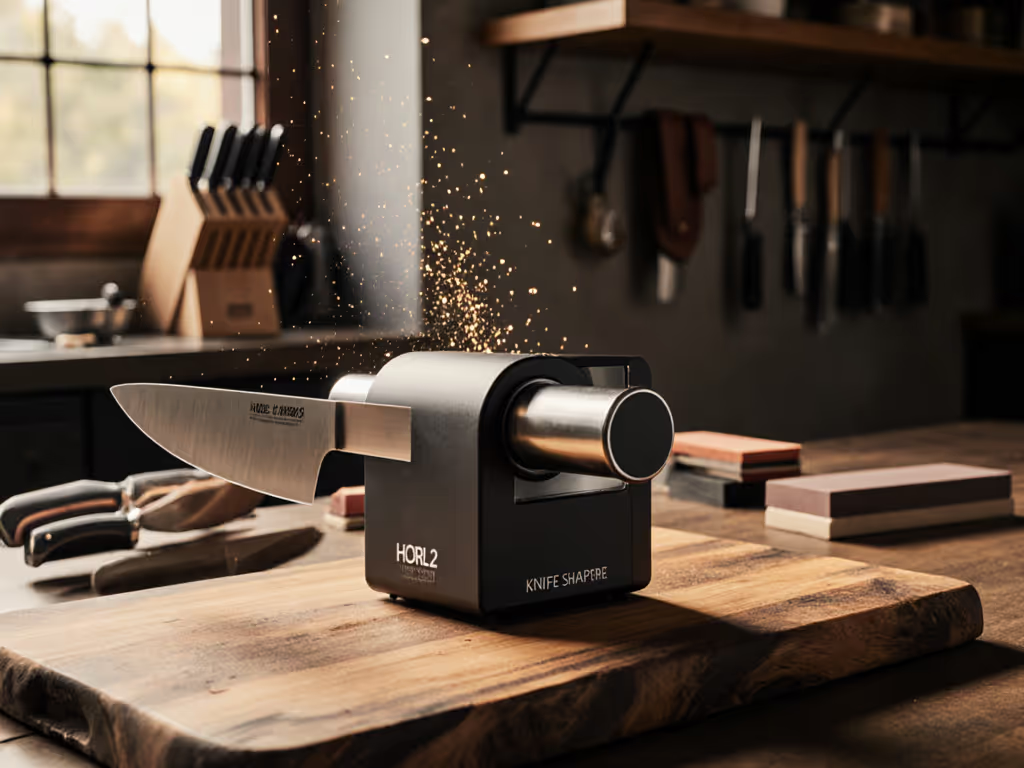
Rolling Guided Systems (e.g., HORL 2 Pro)
Where space and speed reign supreme, rolling systems shine. Compare top options in our best rolling knife sharpeners guide. Magnets hold the knife stationary while you roll diamond-coated discs along the bevel. The HORL 2 Pro's planetary gears spin discs 3x faster per rotation (critical for dense steels).
Apartment-friendly perks:
- Zero noise: Silent operation versus electric grinders
- Tiny footprint: Fits in a drawer (9" x 4" x 2")
- One-minute touch-ups: Restores edge integrity without reprofiling
Limitation: Less effective for damaged edges. Best paired with a coarse belt system for major repairs. But for weekly maintenance? Unbeatable. I've seen users revive edges on $400 carbon knives in 90 seconds (because the angle never wavers).
Your First 60 Minutes: A Deliberate Practice Blueprint
Forget "mastering sharpening in a day." Real progress happens in checkpoint-driven steps. Start simple, then layer precision.
Stage 1: Detect the Burr (5 Minutes)
- Set angle: Use your system's coarsest abrasive at 15° (universal starting point)
- Drag stroke: Pull 10 times per side with light, consistent pressure
- Checkpoint: Run thumb perpendicular to edge. Feel for a burr? Good. No burr? Increase angle by 1° and repeat.
This is where 90% of beginners fail. They rush past burr formation. Raise a clean burr before progressing.
Stage 2: Refine the Apex (15 Minutes)
- Switch abrasives: Move to medium grit (e.g., 320g diamond) Not sure how to sequence abrasives? Follow our 4-step grit progression guide for consistent, durable edges.
- Alternate strokes: 5 strokes per side, checking burr after each side
- Checkpoint: Burr should feel uniform along entire edge. If inconsistent, reassess pressure consistency.
Stage 3: Polish with Precision (10 Minutes)
- Final grit: Use 600g+ abrasive
- Feather-light strokes: 3–5 pulls per side
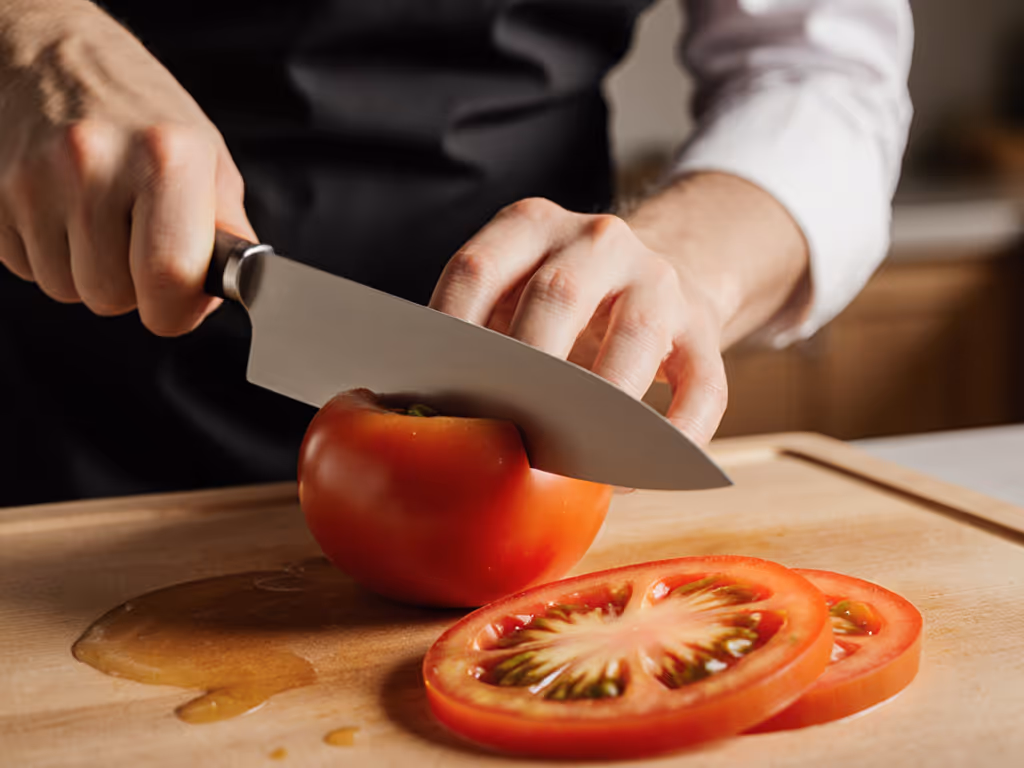
- Test: Slice paper cleanly? Passes the tomato test? You've earned it.
Critical reminder: Track time and strokes in a notebook. Next session, aim for 10% fewer strokes at the same result. This is how feedback loops build mastery.
Why Digital Angle Tech Isn't Cheating - It's Accelerating Skill
Some claim guided systems "remove the art." Nonsense. They remove error. My sushi mentor used a hand-cranked grindstone with no angle guides, yet he'd run calipers over the bevel after every session. Precision digital sharpening is just modern calipers. It answers the question freehand sharpeners agonize over: "Was my angle correct this time?"
Consider these real-world advantages:
| System Type | Angle Accuracy | Time per Session | Material Removed | Best For |
|---|---|---|---|---|
| Digital Electric | ±0.5° | 4–6 min | Moderate | Busy home cooks |
| Guided Manual + Gauge | ±0.3° | 15–20 min | Minimal | Craft-focused learners |
| Rolling Systems | ±1.0° | 1–2 min | Very low | Quick touch-ups |
| Freehand Stones | ±2.5°+ | 25+ min | High | Experts only |
The data confirms: guided sharpening systems deliver pro-level consistency faster, freeing you to focus on feedback cues (burrs, sound, visual sheen) rather than panicking about angles. This isn't automation; it's apprenticeship made accessible.
Making Your Choice: Matching Systems to Your Reality
Don't buy based on features alone. Buy for your kitchen, your knives, and your patience level.
-
For the "Just Make It Sharp" Cook → Digital electric (e.g., Chef's Choice Trizor XV) Why: Push-button simplicity. No learning curve. Ideal when dinner prep can't wait.
-
For the Skill-Builder → Guided manual + digital gauge (e.g., Work Sharp Precision Adjust Elite) Why: Each session drills precision. You'll eventually sharpen freehand intuitively.
-
For the Space-Starved Urbanite → Rolling system (e.g., HORL 2 Pro) Why: Fits in a utensil drawer. Polishes edges during coffee breaks.
Start Simple, Build Deliberately
That Saturday morning countless years ago? I finally raised a clean burr, and understood why my mentor made me grind that cheap blade for months. Precision isn't magic. It's measurable repetition. Today's home knife sharpeners with digital angle tech deliver that same feedback loop instantly. No tatami mat required.
Your next step isn't buying the most expensive system. It's choosing one guided sharpener that fits your kitchen's constraints, and practicing burr detection until it's reflex. Raise a clean burr on a $10 knife first. Then graduate to your Shun. Track your stroke count. Celebrate the whisper-thin shift in feedback.
Consistency over speed. Angle over aggression. Steel always tells the truth, if you learn to listen.
Related Articles