Signs of a Dull Knife: When to Hone vs Sharpen
By Sora Tanaka • 3rd Oct
Recognizing the signs of dull knife performance is the first step toward reclaiming control in your kitchen or workshop. A well-maintained edge transforms cooking from a chore into a precise, satisfying rhythm, while a neglected blade compromises safety, efficiency, and even the flavor of your food. Understanding when to hone versus when to commit to knife sharpening separates those who merely own knives from those who truly command them. This isn't about speed; it's about cultivating a relationship with your tools where steel tells the truth, and your hands learn to listen.
Why Your Dull Knife Isn't Just Annoying: It's Dangerous
Many believe a sharp knife is safer, but few grasp why. Dull blades require excessive downward force to cut, destabilizing your grip and increasing slip risk by over 300% according to kitchen safety studies. Instead of slicing cleanly, they crush soft ingredients like tomatoes, bruising cell walls and releasing bitter compounds. Worse, the uneven pressure needed creates unpredictable tear lines in herbs and proteins, frustrating any cook who values presentation or taste.
I once watched a student struggle with a tomato, knuckles white on the handle, until the knife slid sideways into their thumb. Control the angle, control the outcome, steel tells the truth, I reminded them. That blade wasn't just dull; it had lost its geometric integrity. The real danger wasn't the cut, it was the illusion of control.
The 5 Silent Signals Your Knife Needs Attention (Not Guesswork)
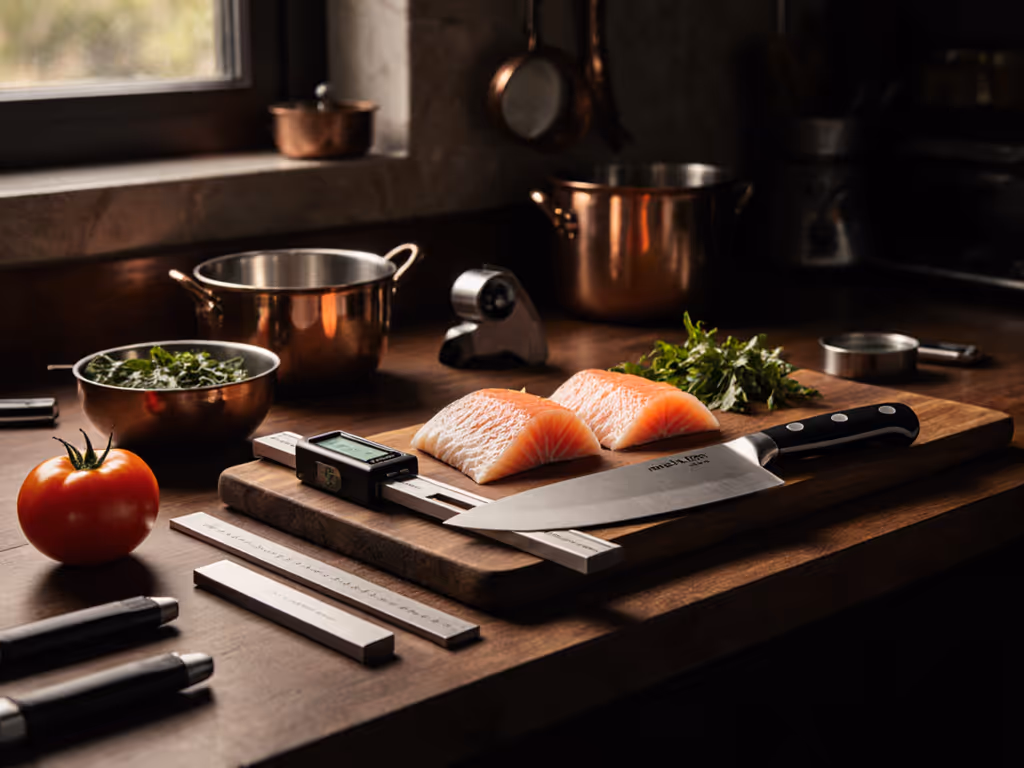
Distinguishing between a blade needing honing versus full sharpening requires objective knife performance testing. Forget subjective "feels dull" assessments; use these measurable checkpoints:
✅ Checkpoint 1: The Paper Glide Test
Hold a standard sheet of printer paper vertically. A truly sharp knife will sever the edge with one smooth slice, yielding clean, even cut lines. Dull knife symptoms manifest as jagged tears or requiring multiple sawing motions. Crucially, listen for the sound: a sharp edge produces a crisp shink; a dull one drags with a muffled thwip.
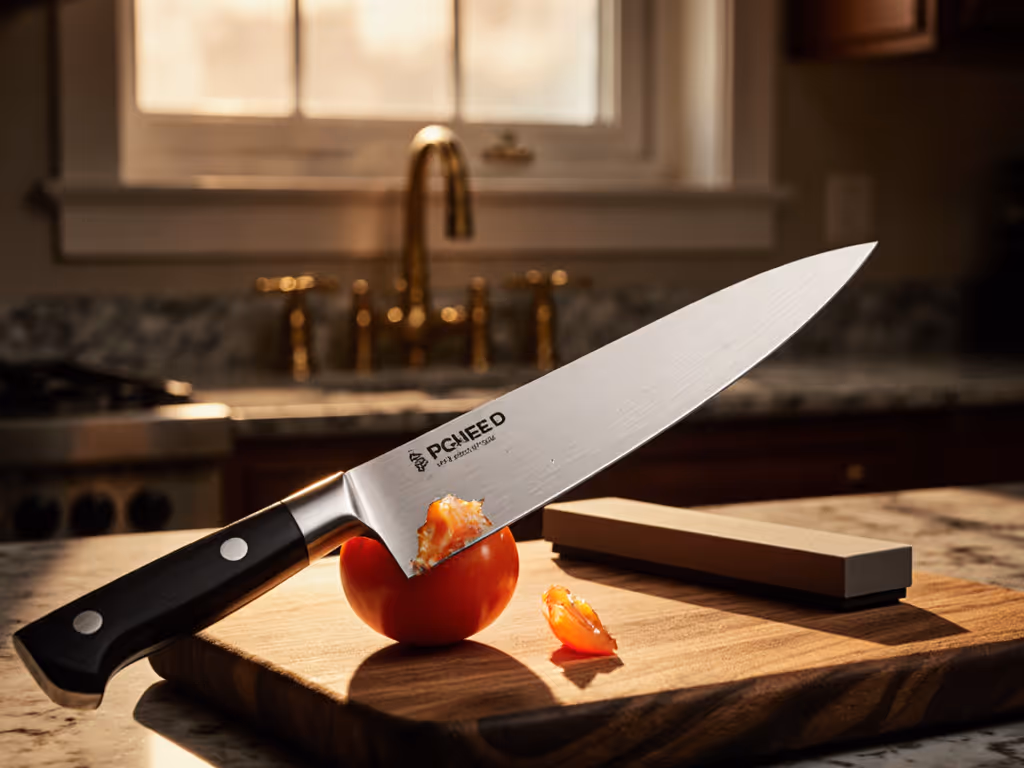
✅ Checkpoint 2: The Tomato Skin Whisper
Set a ripe tomato on a cutting board. Rest the knife's tip against the skin without pressure. A sharp knife will immediately bite in under its own weight. If you must push, no matter how gently, the edge has rounded. (Note: Crushing without cutting? Classic sign of micro-burrs from improper sharpening.)
✅ Checkpoint 3: Fingernail Edge Contact (Done Safely)
Hold the knife horizontally. Gently touch the edge's spine to your fingernail at 15°. Slide the blade backward; you should feel subtle resistance as the edge catches. Zero resistance? Your apex is compromised. Warning: Never drag the edge toward your skin.
✅ Checkpoint 4: Visual Burr Check
Run your thumb perpendicular to the edge (not along it!) under bright light. A dull knife shows no burr. If you feel a faint snag, that is not sharpness, it is a wire edge needing removal. True sharpness feels smooth because the apex is polished and unified.
✅ Checkpoint 5: Effortless Push Cuts
On soft cheese or cooked potato, attempt a push-cut (no sawing). A sharp knife requires barely perceptible pressure. If you adjust your grip to increase downward force, stop. Your edge is failing the most critical edge quality assessment: efficiency.
Remember: A knife's sharpness isn't a state, it's a feedback loop. Every cut teaches you something if you're listening.
Honing vs Sharpening: The Critical Difference
Honing realigns the microscopic edge teeth bent during use. It is a maintenance task done before or after cooking with a steel or ceramic rod. Think of it as combing tangled hair (no material removed, just geometry restored).
Sharpening abrades the blade to form a new edge. This is necessary when honing no longer restores performance (typically after 10 to 15 honings or when you observe the symptoms above). For a deeper breakdown of honing vs sharpening, including when to use each, read our full guide. This is where most home sharpeners fail: they hone when sharpening is required, wasting effort on a geometry that is already rounded.
Key insight: The moment you feel "something's off" during honing (resistance, skipping, or vibration), stop. You are not realigning an edge; you are polishing a blunt slope. Time for sharpening a knife.
Your Action Plan: From Dull to Dangerous-Sharp
When signs of dull knife performance appear, follow this sequence:
- Test Objectively (Paper/Tomato/Fingernail): Confirm dullness is not perception.
- Hone Once: Use smooth, even strokes on a rod. Feedback cue: The blade should glide silently.
- Re-Test: If performance improves, schedule regular honing.
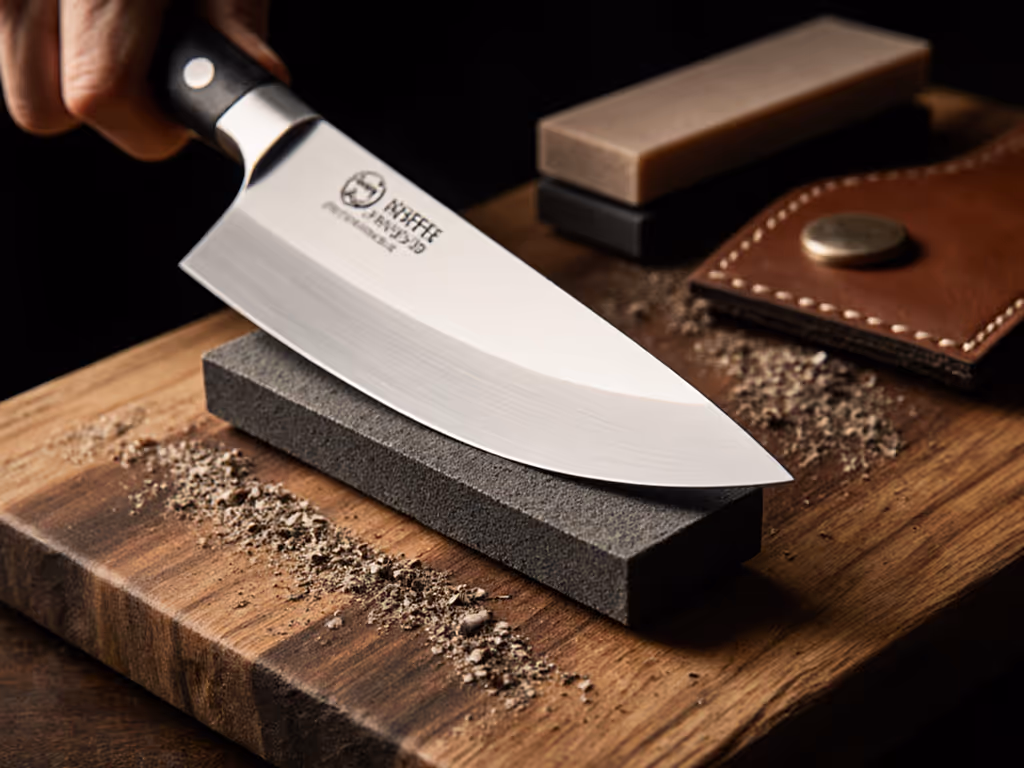
- If No Improvement: Proceed to sharpening. Start with your coarsest stone (e.g., 1k grit for kitchen steel). Focus solely on consistent angle and burr formation, never rush.
- Progress Gradually: Move to finer stones only after confirming a uniform burr along the entire edge. Here is where I lighten the finishing passes (reduce pressure to 10% of sharpening force to polish the apex without distortion).
Why Traditional "Quick Fixes" Fail
Guided pull-through systems? They grind inconsistent angles into expensive blades. Electric sharpeners? Their aggressive belts remove metal indiscriminately, shortening your knife's lifespan. Even frequent honing on a worn rod accelerates dullness by hammering micro-chips into the edge. True longevity comes from understanding why your knife dulls, not just patching symptoms.
The Path Forward: Building Your Feedback Loop
That Saturday morning lesson with the sushi sharpener taught me something deeper than burr detection: Mastery isn't about the stone, it is about the feedback you learn to hear. Steel will not lie about your angle consistency or pressure. Start small. Test one knife daily. Note exactly when it transitions from sharp to dull. Track how long honing works before sharpening is needed. Over weeks, you will develop an intuitive sense of edge life.
Your next step isn't buying more tools, it is refining your attention. Keep a logbook: date, test results, honing/sharpening actions. You will spot patterns in your usage that dictate maintenance rhythm. This is how professionals maintain edges between sharpenings, through deliberate observation, not gadgets.
Lighten the finishing passes. Hone with intention. Trust the steel.
Related Articles