Mastering Electric Sharpener Grit Stages: Precision Without Damage
By Sora Tanaka • 14th Oct

Understanding electric sharpener grit stages is essential for maintaining your knives without compromising their integrity. While many people review electric knife sharpeners based solely on speed, few address the critical progression of abrasives that determines whether you'll achieve a durable edge or accelerate blade degradation. This deep dive demystifies the multi-stage sharpening process, focusing on how to leverage electric sharpeners for precision results while preserving your knives' geometry and steel structure.
Control the angle, control the outcome (steel tells the truth).
Frequently Asked Questions: Electric Sharpener Grit Progression
What exactly happens in each stage of an electric sharpener, and why does the sequence matter?
Electric sharpeners follow a metallurgical principle that applies to all sharpening methods: material must be removed systematically from coarse to fine. The multi-stage sharpening process isn't arbitrary marketing. It reflects how steel responds to abrasion.
-
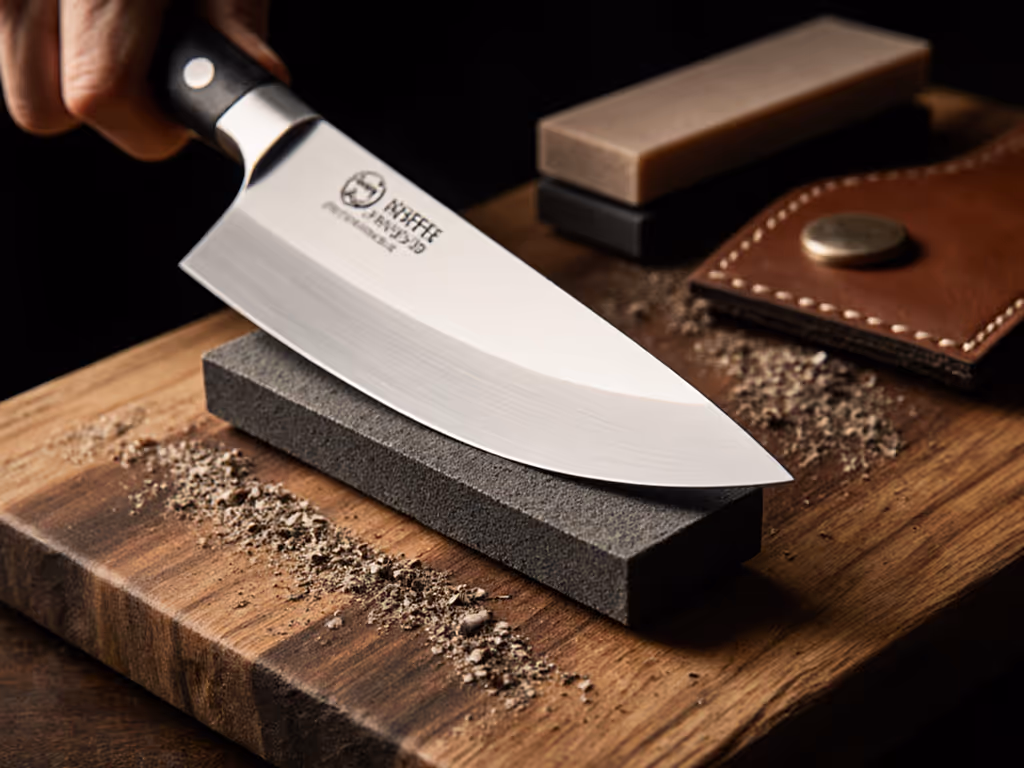
Stage 1 (Coarse Grit): Typically 120-400 grit equivalent. This removes significant material to establish or reprofile the edge geometry. Useful for damaged blades but unnecessary for routine maintenance. Overuse removes excessive steel, shortening your knife's lifespan.
-
Stage 2 (Medium/Refining Grit): Approximately 600-1000 grit. Refines the edge created in Stage 1, reducing scratch depth and preparing the edge for polishing. This stage should produce the functional sharpness for most kitchen tasks.
-
Stage 3 (Fine/Polishing Grit): 1000+ grit. Polishes the edge without further material removal, aligning the microscopic teeth and reducing friction. This stage creates the "buttery" cut that distinguishes professional edges.
Skipping stages creates a compromised edge: a coarse-only sharpening leaves deep scratches that fracture easily, while jumping to fine grits on a damaged edge merely polishes flaws. The optimal sequence depends on your knife's current condition (not a rigid "always use all stages" rule).
How do I determine the optimal sharpening sequence for my specific knives?
Your optimal sharpening sequence depends on three factors: edge condition, steel hardness, and intended use. This isn't one-size-fits-all; it's deliberate practice with feedback.
Assessment Protocol:
-
Edge Inspection: Hold the blade perpendicular to a light source. Visible nicks or rolled edges require Stage 1 (coarse). A dull but intact edge needs only Stage 2 (refining). A sharp but rough-cutting edge may only need Stage 3 (polishing).
-
Steel Consideration: Softer steels (below 58 HRC like many German knives) cut faster but wear quicker. Start with Stage 1 only when nicked. Harder steels (59+ HRC like VG-10 or S30V) resist abrasion but chip more easily. Avoid Stage 1 unless absolutely necessary (it removes excessive material).
-
Function Check: Precision tasks (slicing tomatoes, filleting fish) demand polished edges from Stage 3. Heavier work (chopping squash, carving meat) performs better with the slightly more durable edge from Stage 2.
When properly executed, each stage should produce a clean burr along the entire edge before progressing. This tactile checkpoint ensures you're not prematurely advancing to finer grits. Remember: raise a clean burr consistently before moving to the next stage.
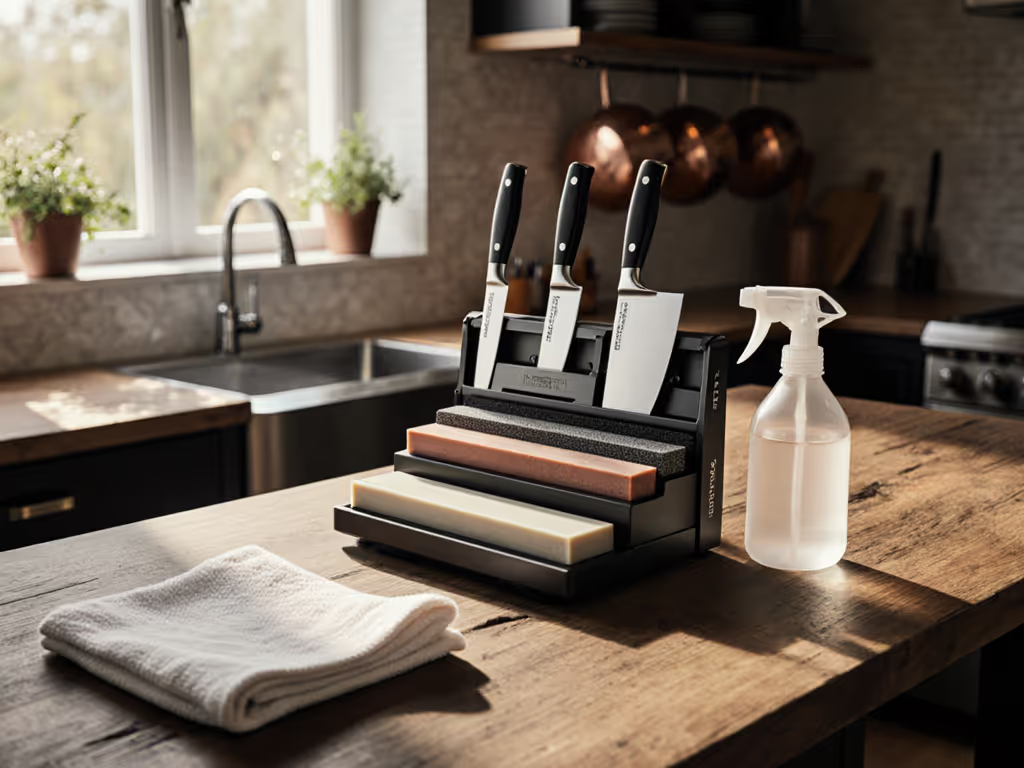
What is the actual function of each slot in a multi-stage electric sharpener?
The slot function explanation reveals why electric sharpeners succeed or fail. Many users treat slots as arbitrary steps without understanding their metallurgical purpose.
-
Slot 1 (Coarse): Creates the primary bevel. Diamond or silicon carbide abrasives rapidly reshape the edge geometry. This slot should feel aggressive with visible metal removal. If your knife doesn't produce a burr after 8-10 passes, either the slot is worn or your angle is incorrect.
-
Slot 2 (Medium): Refines the primary bevel established in Slot 1. Reduces scratch depth from 15-25 microns to 8-12 microns. At this stage, the burr becomes less pronounced, felt more as a slight resistance than a tactile ridge.
-
Slot 3 (Fine/Polishing): Two critical functions: (1) Removes the burr from Slot 2, and (2) Polishes the apex. True polishing slots use ceramic or leather with abrasive compounds at 3-5 microns. If this slot feels gritty rather than smooth, it's likely mislabeled as "polishing" when it's actually medium-fine.
The key insight: each slot must complete its specific task before progressing. Rushing through slots creates a hollow-ground edge that fails prematurely. I once watched a professional chef ruin a $300 gyuto by skipping Stage 1 on a severely damaged blade (only to discover the polished edge lasted one tomato before rolling). Feedback is the teacher; the steel is honest.
How can I avoid common mistakes that damage knives during electric sharpening?
Most damage occurs from three errors: incorrect progression, excessive passes, and angle inconsistency. These are preventable with a methodical approach:
Damage Prevention Protocol:
-
Burr Feedback Check: After each stage, drag your thumb perpendicular to the edge (not along it) near the spine. A consistent burr confirms complete bevel formation. No burr means insufficient passes; uneven burr indicates angle inconsistency.
-
Pass Count Discipline: Never exceed 8-10 passes per side per stage. More passes heat the edge, potentially altering steel temper. For routine maintenance on Japanese knives, 2-3 passes in Stage 2 often suffice.
-
Angle Verification: Place masking tape on your knife's spine. After sharpening, check for uniform wear across the tape. Tapered wear indicates angle inconsistency, a common issue with electric sharpeners that lack precision guides. Models with adjustable angle systems can mitigate this when properly calibrated.
-
Progression Logic: Never return to coarser stages after fine polishing. This creates a micro-serrated edge that cuts initially sharp but fails quickly. If a knife dulls rapidly after "full sharpening," it's likely due to skipping refining stages, not insufficient polishing.
Can electric sharpeners handle high-performance steels like S35VN or M390 without damage?
Yes, but with specific adaptations to the electric sharpener knife protocol. Supersteels require a different approach than traditional carbon or stainless steels due to larger carbide particles and higher hardness.
-
Avoid Stage 1: Diamond abrasives in coarse stages often fracture supersteel's carbides rather than cut cleanly, creating micro-chipping. Start with Stage 2 (minimum 600 grit equivalent).
-
Reduced Pass Count: Harder steels require more passes per grit to raise a burr, but increased friction generates more heat. Alternate sides after every 2-3 passes to prevent localized heating.
-
Extended Stage 3: Supersteels benefit disproportionately from polishing. Spend 40-50% of total sharpening time in the finest stage to align carbide structures for maximum edge retention.
-
Temperature Monitoring: If the blade becomes too hot to touch, you're removing material too aggressively. Wait 30 seconds between passes (steel integrity matters more than speed).
A Work Sharp Precision Adjust Elite unit with its graduated diamond plates demonstrates how proper progression preserves high-end steels. When calibrated to maintain consistent 20° angles through all stages, it creates edges that outlast traditional stone sharpening on M390 blades (a fact confirmed by independent edge retention tests).
Conclusion: Precision Through Progressive Understanding
Mastering electric sharpener grit stages isn't about following a rigid sequence but about understanding the metallurgical purpose behind each stage. The most effective users treat their sharpener as a progressive system rather than a series of isolated steps (verifying burr formation, respecting steel behavior, and adapting sequences to actual edge conditions).
True precision comes not from the machine itself, but from your ability to read the feedback it provides. When you approach each stage with deliberate purpose rather than mechanical repetition, you transform an automatic process into a skill-building exercise. The difference between a sharp knife and a truly exceptional edge lies in this mindful progression.
Further Exploration:
- Experiment with single-stage sharpening on maintenance cycles (Stage 2 only for routine touch-ups)
- Compare BESS scores before/after each stage to quantify progression effectiveness
- Study how different steel compositions respond to specific grit transitions
- Practice identifying burr formation without visual aids, developing this tactile skill elevates all your sharpening methods
Related Articles