Sharpening Curved Blades: Top Systems Compared
By Sora Tanaka • 9th Dec
As a whetstone instructor specializing in curved blade sharpening, I've seen how inconsistent edge geometry undermines performance more than any other factor in kitchen and outdoor tools. Finding the best sharpening systems that maintain precise angles across sweeping blade profiles separates functional tools from truly exceptional ones. Mastery here is not about magic, it is about understanding steel behavior and building reliable feedback loops into your process.
Control the angle, control the outcome, steel tells the truth.
Why are curved blades particularly challenging to sharpen consistently?
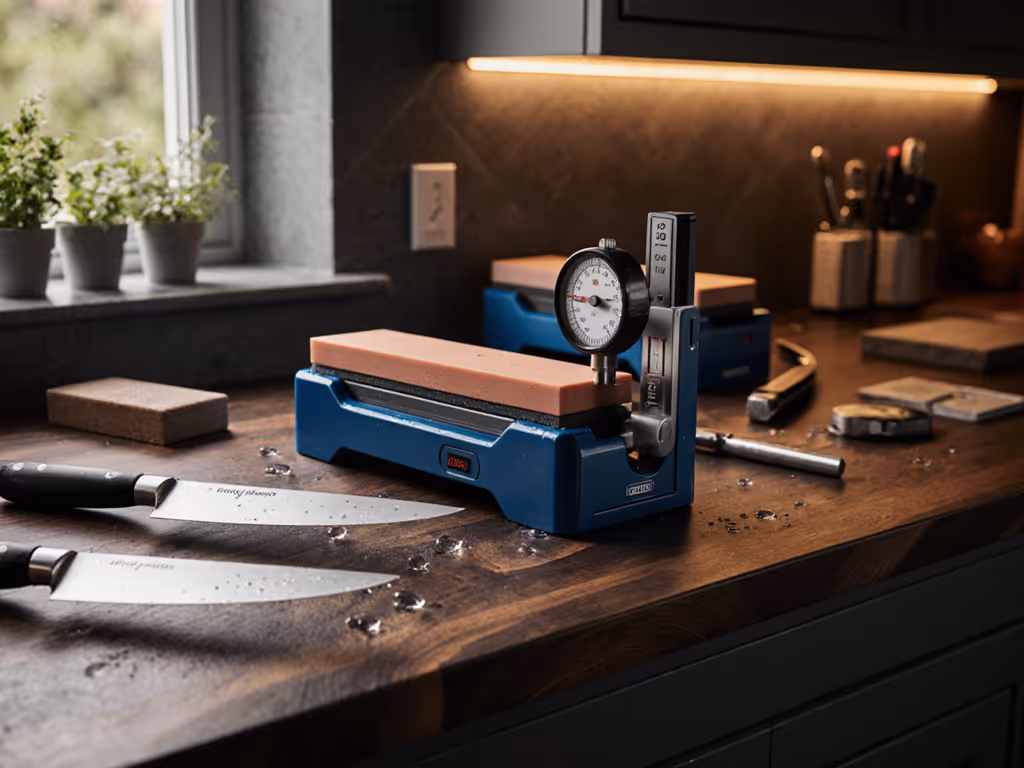
Curved blades (whether santoku knives with gentle bellies or cleavers with dramatic arcs) introduce geometric complexity that flat-ground blades do not face. As you move along the blade from heel to tip, the point of contact with your abrasive shifts relative to the sharpening angle. This causes the effective sharpening angle to increase near the tip (a phenomenon confirmed by precision angle measurement studies across multiple guided systems). For practical angle choices by knife style, see our 15° vs 20° guide.
Without proper technique or equipment, you will create an edge where the tip cuts aggressively but dulls prematurely, while the heel chops inefficiently. The steel itself provides immediate feedback if you know what to listen for, the subtle change in burr formation as you move along the blade. This is what I learned stacking Saturday mornings with a retired Tokyo sushi sharpener: he made me chase that clean burr on cheap stainless using only a 1k stone until I could hear the difference between proper contact and the telltale whisper of angle drift.
Critical checkpoint: When sharpening curved knives, test for burr formation at three equidistant points along the blade curve. If the burr raises easily at the heel but requires significant pressure at the tip, your effective angle has increased.
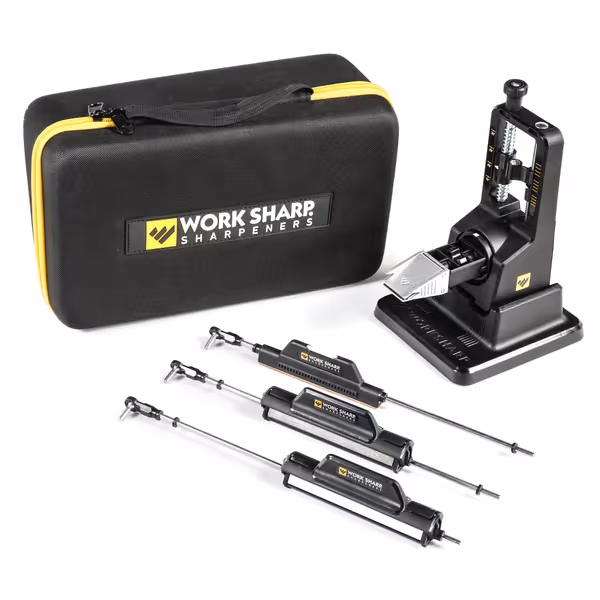
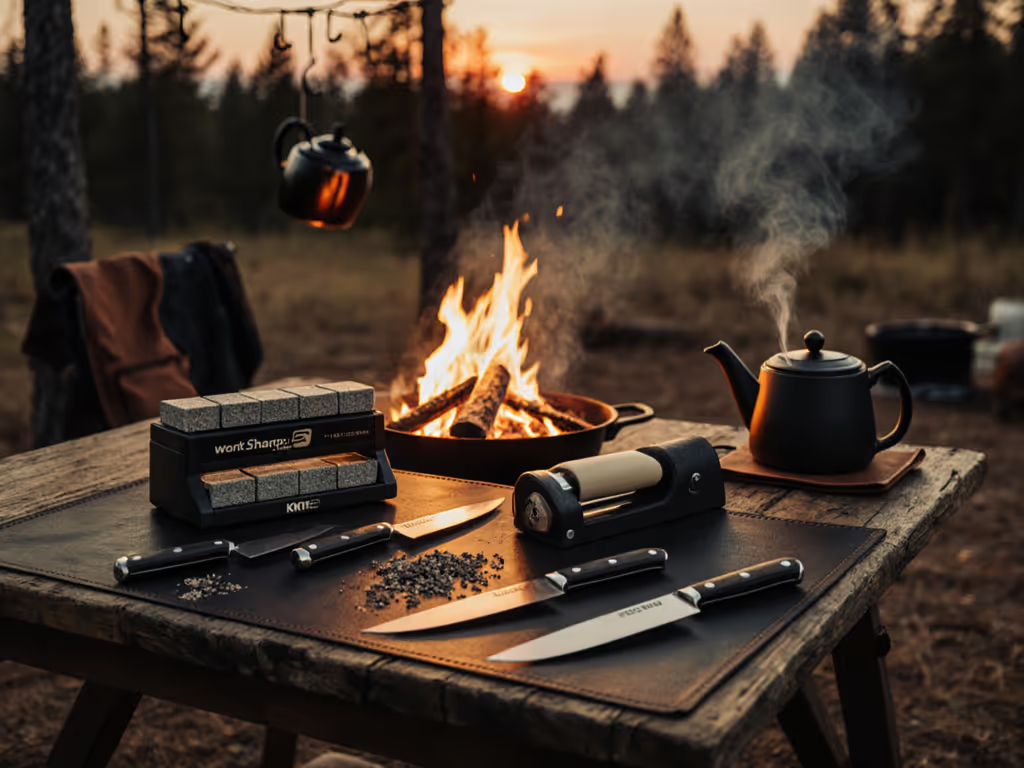
WORK SHARP Precision Adjust Elite
Achieve razor-sharp, consistent edges for all your knives, quickly and easily.
$129.95
Angle Adjustment15-30 Degrees
Angle Adjustment15-30 Degrees
Pros
7 Abrasive Grits for versatile sharpening needs.
Fast, easy grit changes for efficient workflow.
Achieves impressive sharpness for diverse blades.
Cons
Angle consistency can vary for some users.
Magnet strength issues with clamp and arm reported.
Customers find the knife sharpener effective, particularly for pocket knives, and appreciate its ease of use with minimal learning curve. The product delivers razor-sharp results and is well worth the price. The angle accuracy receives mixed feedback - while some say it keeps a consistent angle, others note that the angle can change substantially. Additionally, several customers report issues with the magnet strength, mentioning that the clamp doesn't hold knives securely and the sharpening arm falls out of its magnetic mount.
Customers find the knife sharpener effective, particularly for pocket knives, and appreciate its ease of use with minimal learning curve. The product delivers razor-sharp results and is well worth the price. The angle accuracy receives mixed feedback - while some say it keeps a consistent angle, others note that the angle can change substantially. Additionally, several customers report issues with the magnet strength, mentioning that the clamp doesn't hold knives securely and the sharpening arm falls out of its magnetic mount.
How do guided systems address the belly curvature problem?
All sharpening systems handle curved blades differently, with varying degrees of precision:
Fixed-angle guided systems (like the Wicked Edge Generation 4 Pro):
- Use a clamp to secure the blade at a consistent angle
- Require recalibration as you move along pronounced curves
- Offer micro-adjustments (as precise as 0.05° on premium models) to compensate for curvature
- Produce exceptional consistency when used with proper technique
Flexible-angle systems (like the Work Sharp Precision Adjust Elite):
- Allow the blade to pivot during sharpening
- Naturally follow blade curvature without recalibration
- May sacrifice absolute precision for workflow efficiency
- Excel at belly edge sharpening where maintaining a continuous motion matters
Freehand sharpening:
- Requires significant skill to maintain consistent angles across curvature
- Offers maximum versatility but minimal feedback for beginners
- Demands careful attention to burr formation throughout the stroke
The key insight across all methods: raise a clean burr consistently along the entire curve. If your burr appears only on certain sections, you are creating an inconsistent edge that will fail prematurely in kitchen tasks or outdoor applications.
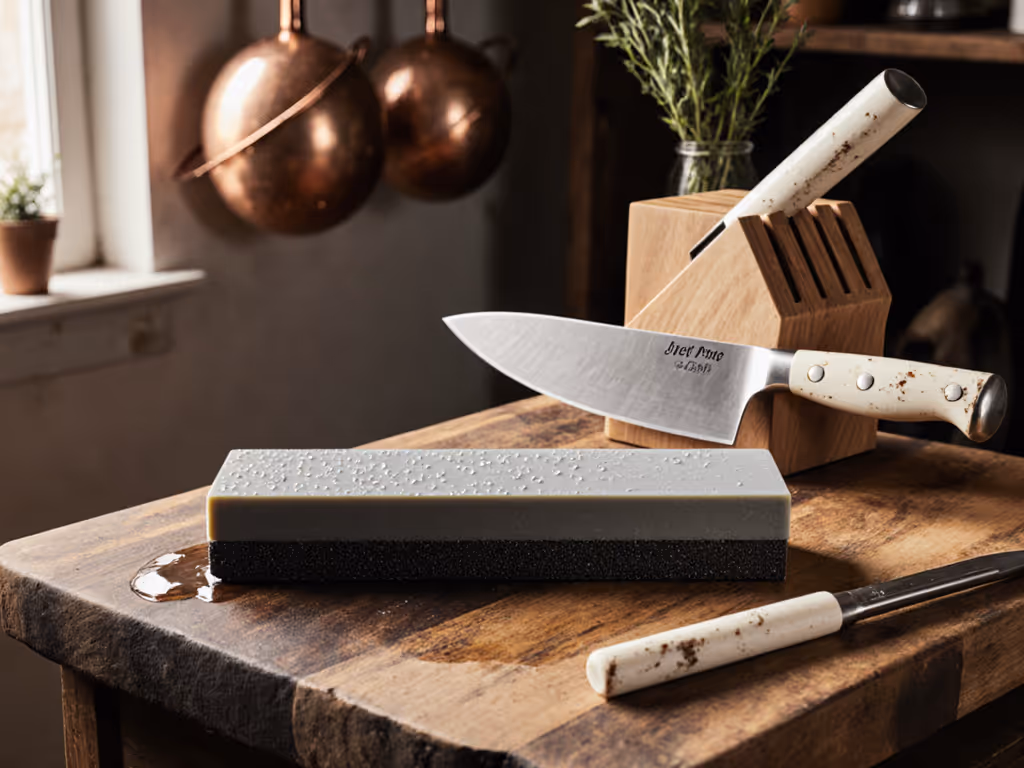
Which system works best for santoku sharpening angles and kitchen curves?
Japanese kitchen knives present unique challenges for curved blade sharpening with their asymmetric grinds and subtle bellies. Traditional santoku knives typically feature a 15-17° angle on the right side and 10-12° on the left, with a gentle curve that affects angle consistency.
For santoku sharpening angles specifically:
-
Beginner approach: The Work Sharp Precision Adjust Elite provides guided motion that naturally follows the blade curve while maintaining consistent pressure. Its adjustable angle mechanism accommodates asymmetry through separate passes on each side.
-
Precision approach: The Wicked Edge Generation 4 Pro allows you to set precise asymmetric angles and make micro-adjustments as you move along the blade curve. Its stabilized clamp system prevents the blade from shifting during sharpening, which is critical for maintaining the delicate 10° secondary bevels common on premium Japanese blades.
Regardless of system, always verify your work through these three consistency checkpoints:
- Visual inspection: Hold the blade at eye level under bright light, where any inconsistencies in the bevel width will show as breaks in the reflective surface
- Burr test: Run your thumb perpendicular to the edge at multiple points. Consistency in burr formation indicates proper angle maintenance
- Performance test: Cut through a tomato without crushing. Failure indicates uneven edge geometry
What special considerations apply to cleaver sharpening techniques?
Cleavers present the most extreme challenge in curved blade sharpening with their dramatic curvature and thick spines. The heavy distal taper creates significant geometry shifts from heel to tip that most sharpeners fail to compensate for adequately.
The proper cleaver sharpening techniques require:
- Understanding the functional zones: The heel (for chopping bones) requires a robust 25-30° angle, while the curved belly (for mincing) performs best at 18-22°
- Progressive angle adjustment: Rather than forcing a single angle, professional sharpeners adjust incrementally along the curve
- Specialized support: Heavy cleavers often require additional fulcrum points to prevent blade flex during sharpening
Critical technique: For cleavers with pronounced curvature, start sharpening at the tip with your chosen angle, then gradually increase pressure toward the heel to compensate for the natural angle increase. This counterintuitive approach produces a more consistent edge geometry across the entire blade.
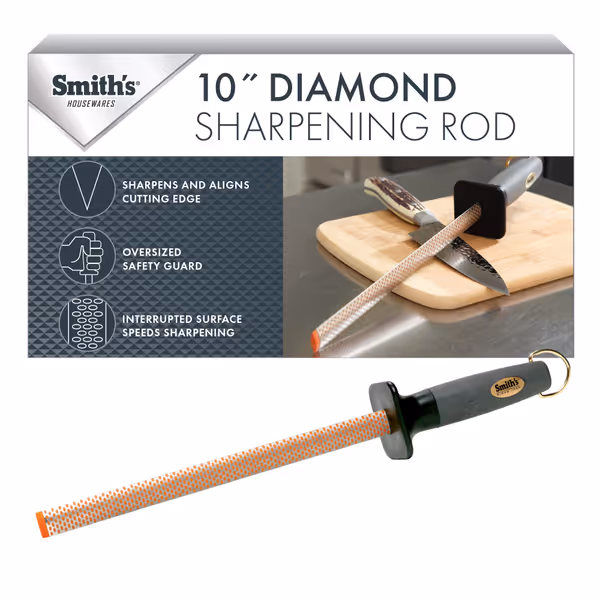
Smith's 3001 Oval Diamond Sharpening Steel Rod
Quickly hone and realign dull kitchen knives for lasting sharpness.
$31.88
Sharpening Surface10" Oval Diamond-Coated
Sharpening Surface10" Oval Diamond-Coated
Pros
Fast sharpening, hones and realigns simultaneously.
Diamond-coated rod handles very dull knife edges.
Comfortable, safe grip with oversized handguard.
Cons
Durability concerns reported by some users.
May not be ideal for specialty edge types.
It works better than any other steel and keeps knives very sharp. It makes quick work of maintaining knife edges.
It works better than any other steel and keeps knives very sharp. It makes quick work of maintaining knife edges.
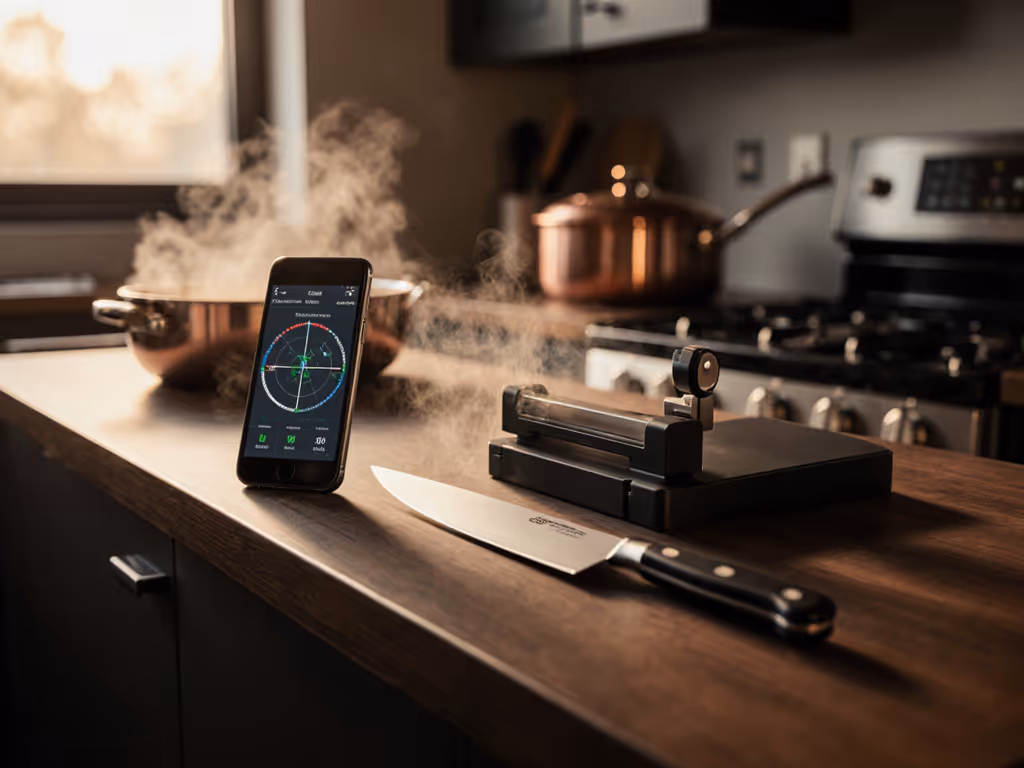
How can I verify consistent edge geometry on curved blades?
The most reliable verification method remains the simplest: raise a clean burr consistently along the entire curve. This provides immediate feedback about your angle consistency. However, several advanced verification techniques offer additional precision:
- Angle cube measurements: Take readings at 1-inch intervals along the blade while maintaining the same reference point
- Bevel scope inspection: Magnified examination reveals subtle inconsistencies invisible to the naked eye
- Controlled cutting tests: Paper slicing, tomato cutting, and rope slicing reveal performance differences from inconsistent geometry
When I work with students struggling with curved knife maintenance, I have them sharpen one side of a blade, then immediately test for burr formation at three points. Then they repeat the process while consciously adjusting their stroke to create a uniform burr. Within two sessions, most develop the necessary muscle memory for consistent results.
What are the limitations of electric sharpeners for curved blades?
Electric sharpeners often struggle with curved blades due to:
- Fixed abrasive path: The blade must conform to the machine's motion rather than the machine adapting to the blade
- Excessive material removal: Power systems tend to remove too much steel from the high points of the curve
- Convex edge creation: Creates an edge that cuts initially well but dulls rapidly due to microscopic inconsistencies
While convenient for quick touch-ups, electric systems generally cannot match the precision possible with manual guided systems for blades with significant curvature. The exception is when performing major repairs on extremely damaged blades, the speed advantage may outweigh the precision tradeoff. For a full methodology comparison, see whetstone vs electric sharpeners.
Practical workflow for sharpening curved blades
Follow this checkpoint-driven sequence for consistent results:
- Assess the existing edge: Identify where the current bevel fails using the tomato test
- Set your target angle: Consider blade function (15-20° for kitchen knives, 20-25° for outdoor tools)
- Start with coarsest necessary grit: Only remove as much material as needed to correct the edge
- Work section by section: Divide the curve into 1-2 inch segments for focused attention
- Verify burr formation: After each segment, check for consistent burr
- Refine progressively: Move to finer abrasives only after establishing a consistent bevel
- Final verification: Test cutting performance before declaring the job complete
This systematic approach builds the deliberate practice that transforms sharpening from a chore into a reliable skill. Remember, each stroke provides feedback if you are listening. The stone does not lie.
Conclusion: Finding Your Path to Precision
Curved blade sharpening demands respect for geometry and steel behavior, but consistent results are achievable with the right system and approach. Whether you choose a flexible system like the Work Sharp Precision Adjust Elite for efficient belly edge sharpening or a precision instrument like the Wicked Edge Generation 4 Pro for exacting santoku sharpening angles, the path to mastery lies in building clear feedback loops into your process.
For those ready to deepen their understanding beyond this overview, I recommend studying precision angle measurement techniques and steel-specific abrasion rates. Next month, I will publish detailed grit progression charts matched to specific steel types. Sign up for my newsletter to receive this exclusive resource when it launches. True mastery begins not with the tool, but with the intention behind each stroke.
Control the angle, control the outcome, steel tells the truth.
Related Articles